Many general settings for Silverstack can be changed within the Application preferences and by doing so, working with Silverstack may become even easier to fit your workflow.
You get to the preferences menu by selecting “Preferences…” in the “Silverstack ” menu. The window that opens up contains following sections which will be described detailed in this article:
-
-
- General
- Projects
- Media
- Copy&Jobs
- Playback
- Formats
- Ingest
- Backups
- External Video
- Grading
- ACES
- Slating
- Accounts
- Updates
-

Silverstack’s preferences overview
General
Make decisions about appearance topics here.

General preferences
Projects

Project preferences
This section contains settings that are applied to new projects or a specifically set for the active project. Switch the active project to see another project’s settings.
Project preferences
- You can set custom names for the color labels
- You can set titles for the custom fields for the active project. This can also be used to extract special metadata from clips (see KB article: Using Silverstack Custom Field Titles to Read Additional Metadata).
- Also, you can choose to apply a custom configuration to all newly created projects (see KB article: Transfer of Project Settings)
Media
In the “Media” section you can set options for the creation of thumbnails and still frames as well as the use of dynamic metadata.

Media preferences
You can choose the position in the clip from which the thumbnails are taken (see article Choosing Custom Thumbnail Images). In addition, you can disable the thumbnail creation on Offload jobs to speed up the process and create them afterwards from the «Edit» menu. It’s also possible to export still frames from clips either with the Original Color, as shown in player or the two images at once. The process is described in the article Still image export.
Copy&Jobs
Here you can define all the settings related to the copy process and other jobs.

Copy & Jobs preferences
Playback
Here you can edit some settings for playback Besides setting the color in which black- and white-clipping regions of a video image are indicated, you can also set the range color and clipping and range unit.
In addition, it’s possible to disable the automatic application of ALEXA and AMIRA Looks used while recording. This way the footage will be displayed with the default Log-C to Rec.709 instead of the look.
In the “Playback” tab you can also select on which display the Playback Mode will be shown if you have more than one screen connected to your computer.

Playback preferences
Formats
Within this section you can change settings regarding different cameras you may use for importing video clips. You can set those attributes for following cameras/recorders: AJA KiPro and Atomos, ARRI Alexa, Sony F5/F55/F65 XAVC, Canon C300, GoPro Hero and Nikon, R3D and Canon DSLR.
The options that are available for defining the timecode are mostly the same for the different cameras. They are useful if you need a different timecode source than the one you got from your camera. So instead of the camera’s timecode track you can use the Quicktime header create date or file create date. Most times this option is only necessary for the Canon DSLR and GoPRO Hero, not so much for the ARRI Alexa and AJA KiPro.
AJA KiPro and Atomos
- You can set the Look source which will be preselected for the ingested material. Learn more about this feature in the article Basic Color Control in Silverstack.
- Furthermore you can let Silverstack extract informations about scene and take from the filenames by selecting the according checkbox.
- For the AJA KiPro Silverstack provides the opportunity to use the Alpha Append character of a clips name to assign the clip accordingly to a camera.
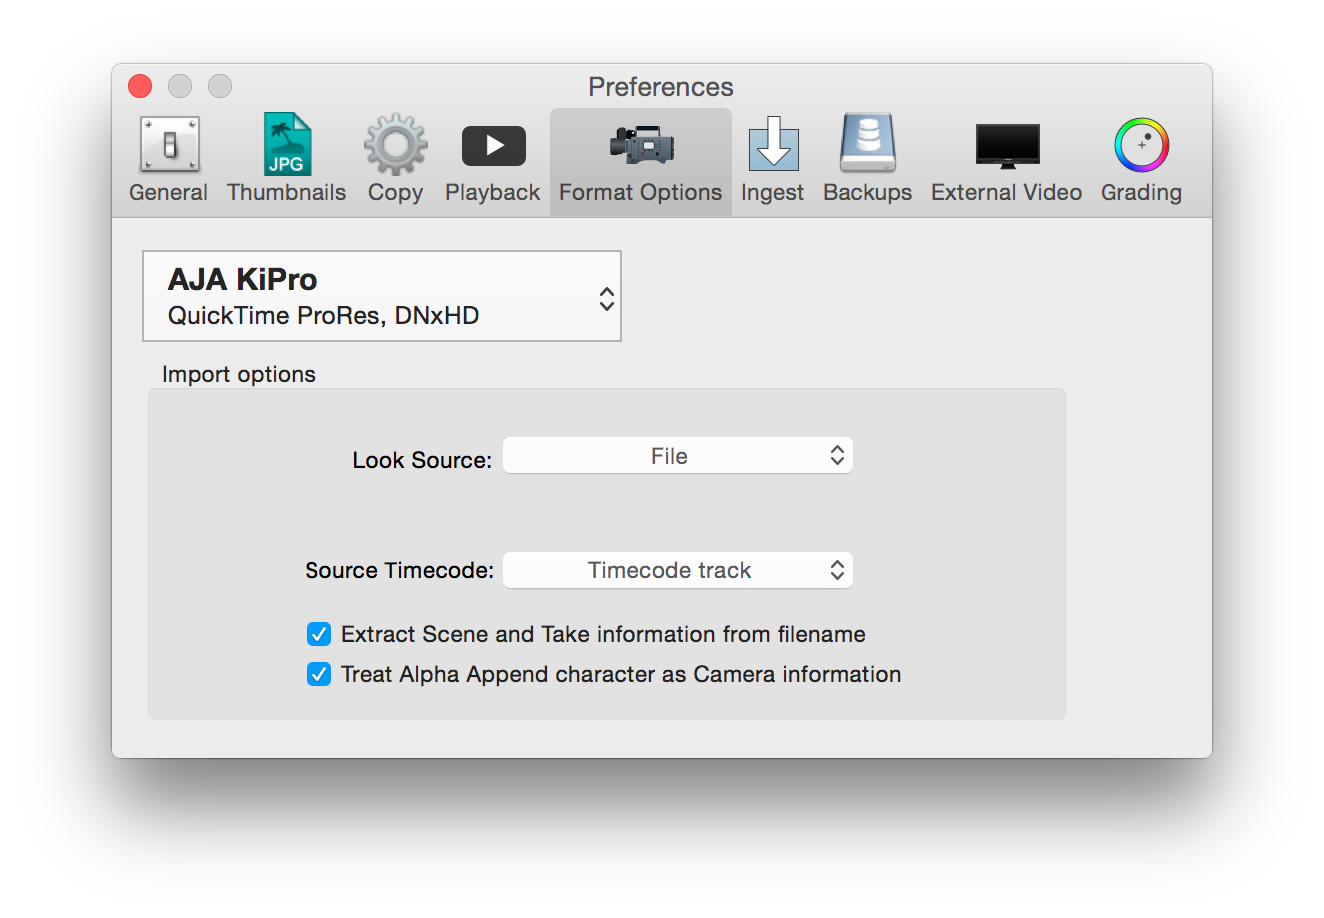
figure 6: format options for AJA KiPro
ARRI Alexa
- You can set the Look source which will be preselected for the ingested material. Learn more about this feature in the article Basic Color Control in Silverstack.
- Silverstack provides the option to generate the timecode with different modes.
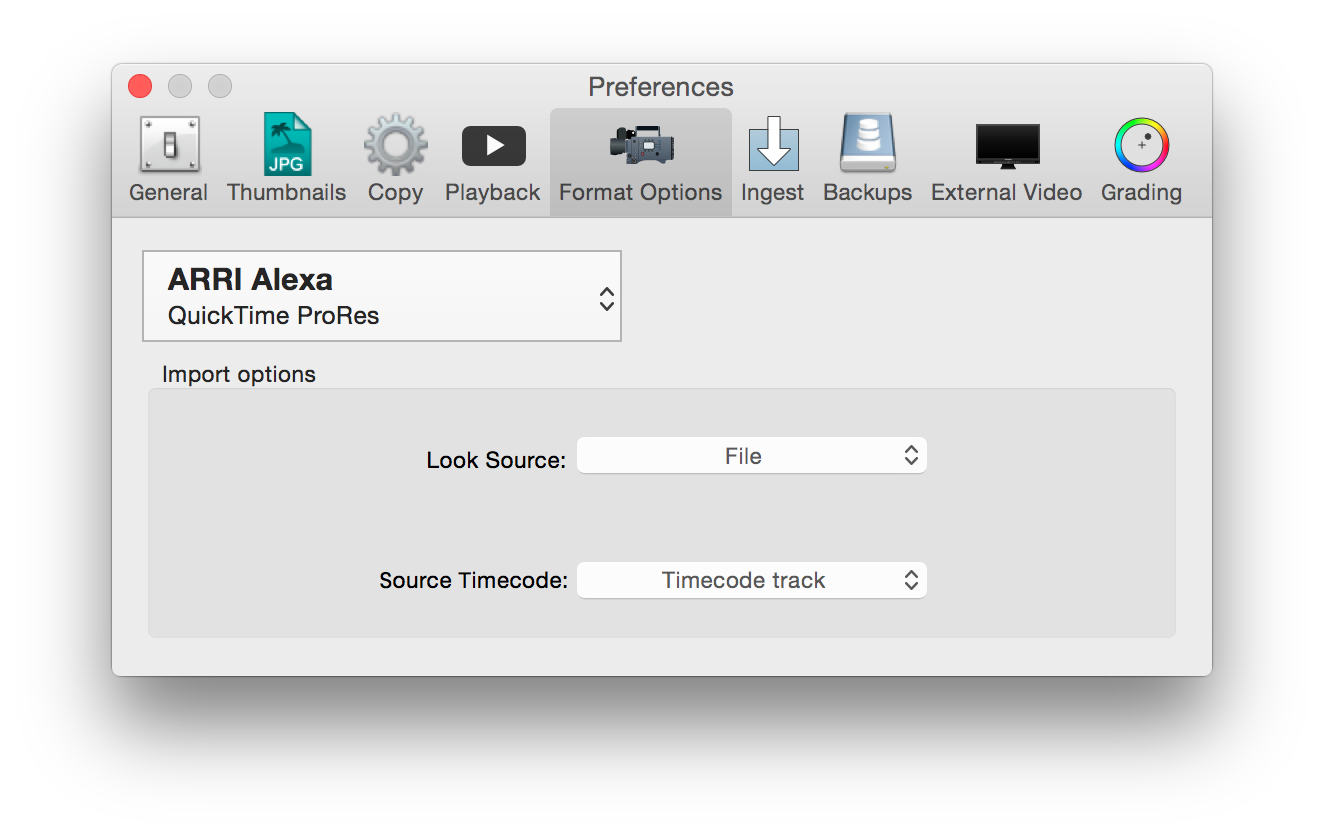
figure 7: format options for ARRI Alexa
Canon c300
- You can set the Look source which will be preselected for the ingested material. Learn more about this feature in the article Basic Color Control in Silverstack.
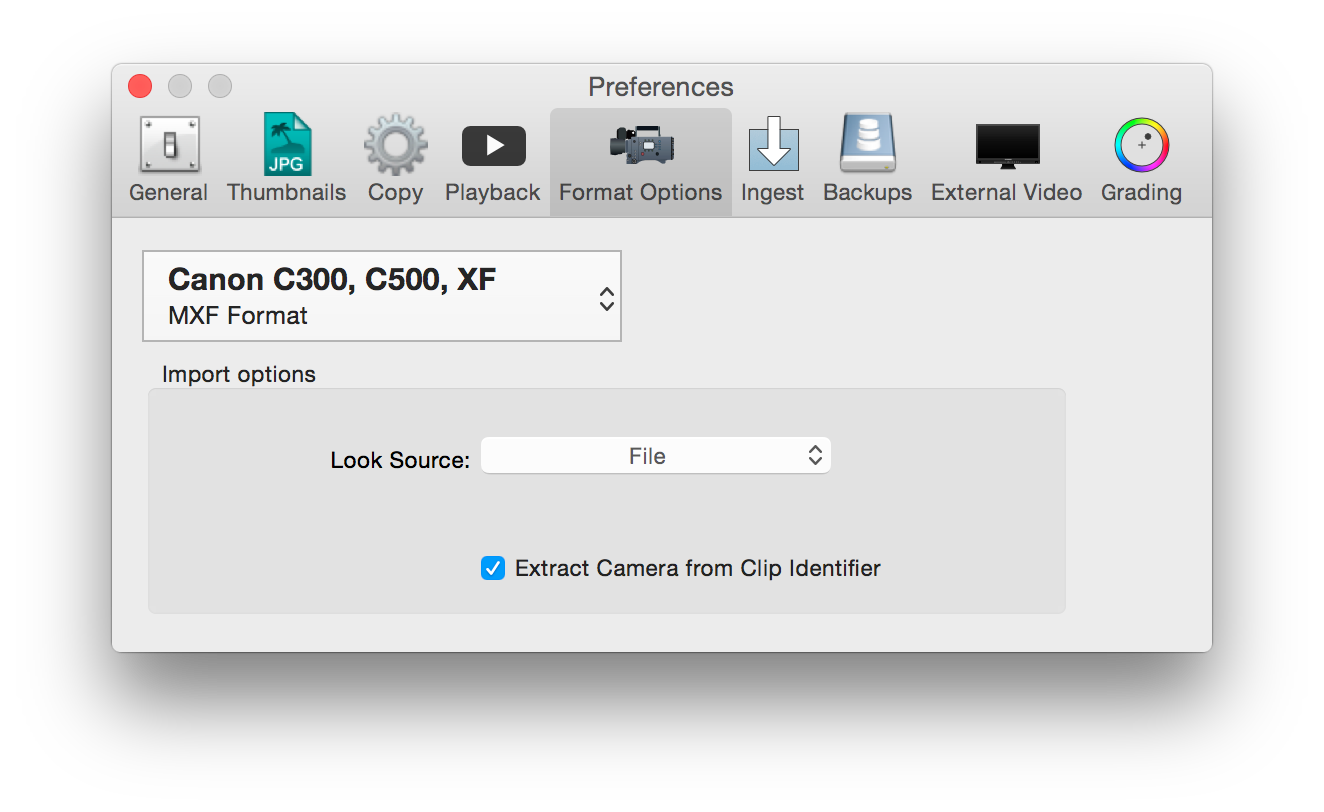
figure 8: format options for Canon C300
Canon DSLR
- You can set the Look source which will be preselected for the ingested material. Learn more about this feature in the article Basic Color Control in Silverstack.
- The source timecode can be defined by the Thumbnail Image file, the Quicktime header create date and the file create date.
- By selecting the according checkbox Silverstack will also copy any THM sidecar files from your Canon camera.
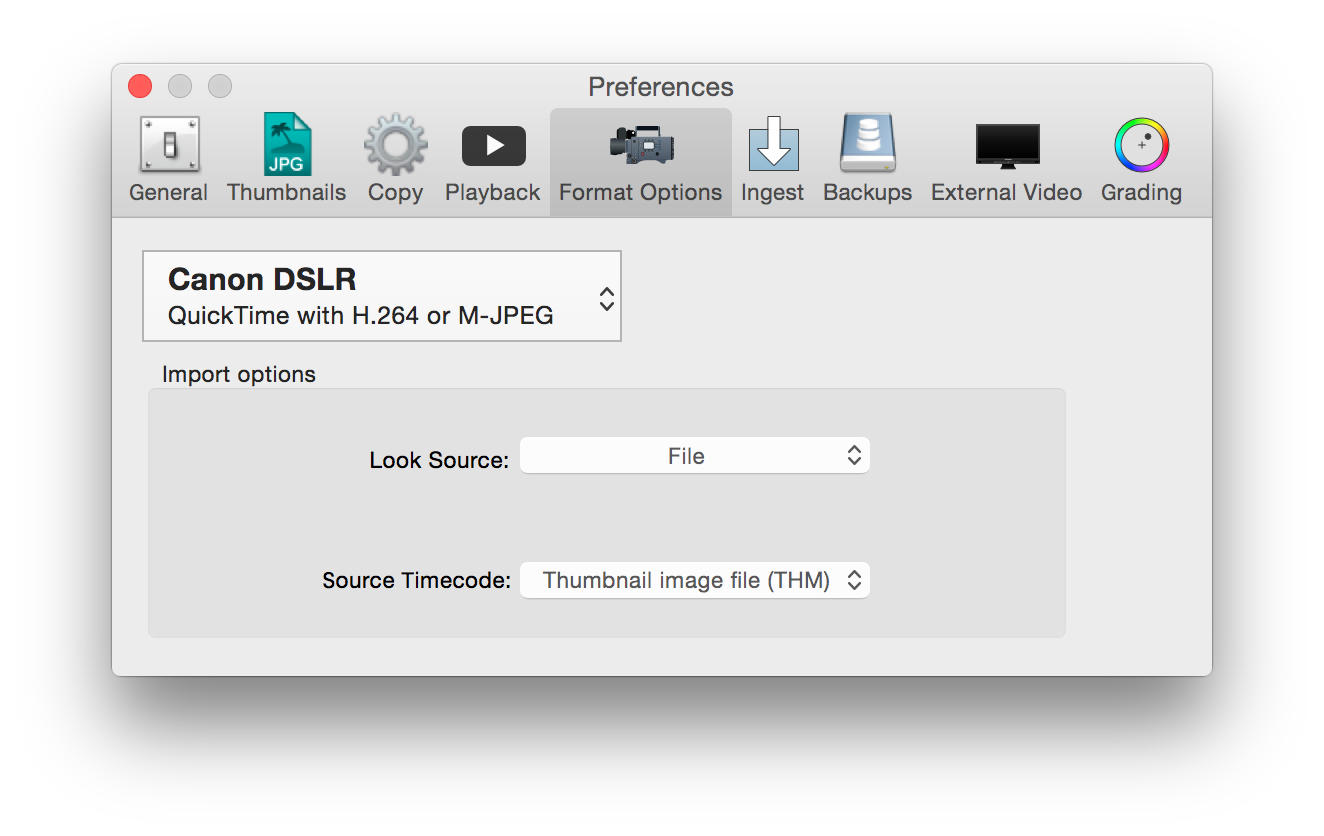
figure 9: format options for Canon DSLR
GoPro Hero and Nikon
- For any GoPro Hero and Nikon camera you can set only the option which defines the source timecode either to Quicktime header create date or file create date.
- You can set the Look source which will be preselected for the ingested material. Learn more about this feature in the article Basic Color Control in Silverstack.
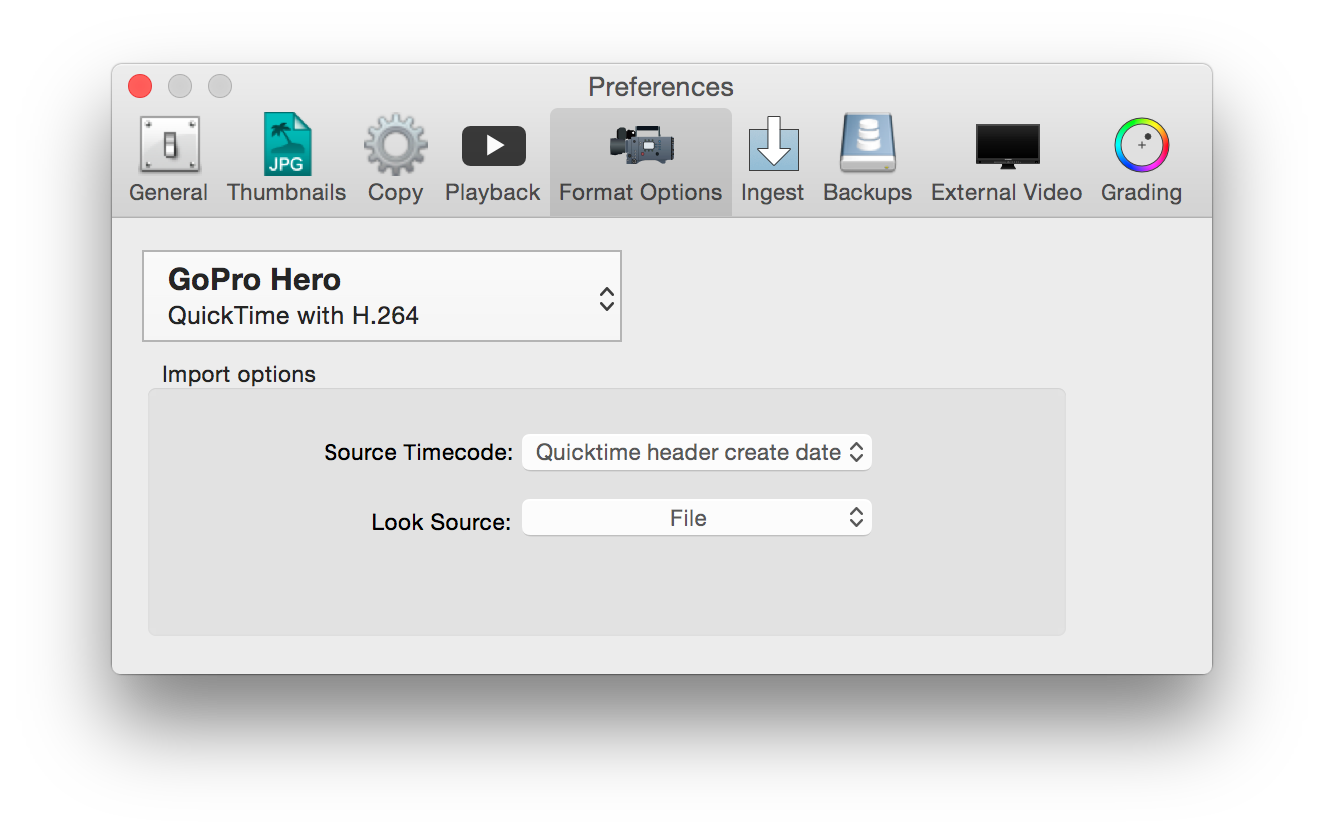
figure 10: format options for GoPro Hero
R3D
- You can set the Look source which will be preselected for the ingested material. Learn more about this feature in the article Basic Color Control in Silverstack.
- The source timecode can be defined as absolute timecode, edge timecode, file create date or by user preference.
- Reel name generation mode.
- Use a Red Rocket card if available.
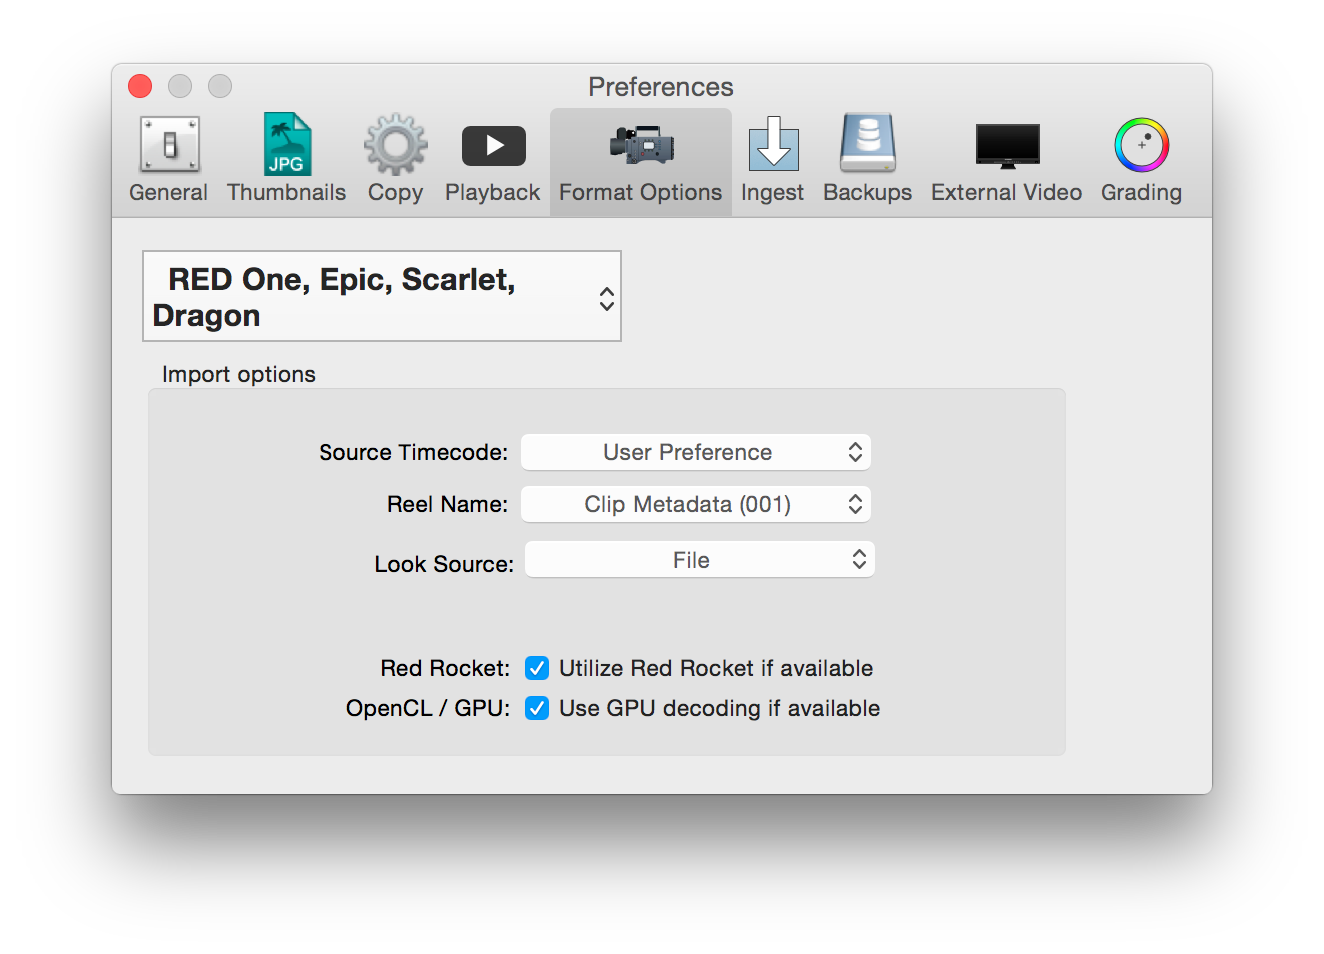
figure 11: format preferences for R3D clips

RED Reel Name options
F5/F55/F65 XAVC
- You can set the Look source which will be preselected for the ingested material. Learn more about this feature in the article Basic Color Control in Silverstack.

figure 12: format preferences for Sony F5/F55/F65 XAVC clips
Generic File Sequence
- Silverstack allows to import JPEG, TIFF and DPX image sequences as clips. You can Set the default playback speed in the Import Options menu:

figure 12.1: Generic File Sequence preferences
Ingest
Silverstack scans the volumes from which you want to offload. In this tab you can select what kind of files or patterns should be ignored in the ingest process. You can add or delete different file types and patterns.

Ingest preferences
Backups
Here you can create and restore database backups of your current and past Silverstack states.

Library Backup preferences
External Video
Here you can choose the settings for the external video output.

External Video preferences
Silverstack comes with the option to output an HD-SDI signal via compliant hardware. Learn more about it in the article HD-SDI output in Silverstack.
You can use ScopeBox by Divergent Media for software-based waveform and video scopes for Silverstack’s player.
Grading
These are the settings for the grading functionalities in Silverstack.

Grading preferences
Silverstack comes with grading functionalities and an integrated look library. Learn more about it from the articles Grading Controls in Silverstack and The Silverstack Look Library.
ACES
These are the settings for the ACES grading mode functionalities in Silverstack:

ACES grading mode preferences
Slating
- Slating System: Choose a “Slating System” to show only relevant menu items within the “Edit Scene/Shot/Take” menu for your preferred slating system:
- “Standard” lets you work with continuous slating with scene / shot / take fields (e.g., Scene “56” / Shot “4” / Take “2”)
- “American” lets you work with American slating with scene / take fields (e.g., Scene “56C” / Take “2”)
- “All” lets you see all available menu items for full flexibility
- Scene Letter: The “Scene Letter” checkbox allows you to enable/disable the behavior to append a letter on “Increase Scene” actions automatically (e.g., increment “5” to “5A”). “Scene Letter “is enabled automatically when switching to the “American” slating system and disabled when switching to the “Standard” slating system.
Note: Incrementing letters in the scene/shot/take fields use the overflow system (e.g., “Z” to “AA”, etc.)
- Skipped Characters: You can also define specific characters to be skipped when incrementing letters in the scene/shot/take fields.

Slating preferences
Accounts
You can manage the accounts to upload or share your library via ShotHub, for direct dailies upload via Webgate.io or Frame.io and for sending job notifications to Slack here.

Accounts preferences
Updates
These are the settings for automatic updates, usage statistics and crash reports.

Update preferences