Silverstack can create an .xml file compatible with Adobe Premiere Pro to transfer clips and clip metadata to the editing tool.
Exporting an Adobe Premiere Pro XML from Silverstack
The export option can be accessed from the “Export” button in the toolbar:
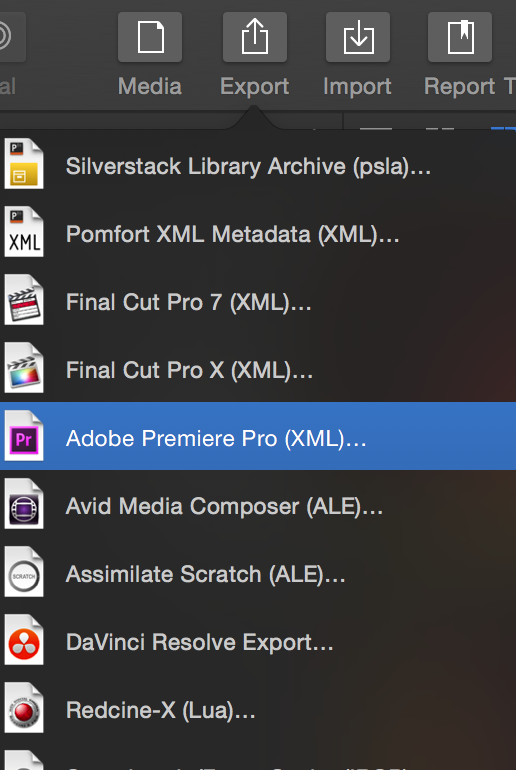
Fig. 1: The export menu
After the source selection step you can define content and format options for the exported XML:

Fig. 2: Content and format option for the XML export
- Content:
- General Clip Info: Contains the basic information needed to transfer clips (file paths, etc.)
- Master Info: Contains Scene Shot Take info as well as the Reel Name.
- Scene in Silverstack maps to “Scene” column in Premiere Pro
- Shot and Take in Silverstack map to the “Shot” column in Premiere Pro in the format “Shot – Take”
- User/QC Info: Contains flag/circled info as well as Comments (maps to “Description” column in Premiere Pro)
- General clip settings as Master Comment 1: Maps general clip settings (e.g. InformationSensorFps, ShutterAngle, WhiteBalance, ExposureIndexAsa, ColorGamma) to the Master Comment 1 column in Premiere Pro
- Tags as Master Comment 2: Maps the tags in Silverstack to the master comments 2 in Premiere Pro.
- Custom 1, 2 as Master Comment 3,4 : Maps the custom comment fields 1 and 2 in Silverstack to the master comments 3 and 4 in Premiere Pro
- Labels as Clip Colors: Maps the labels in Silverstack to clip colors in Premiere Pro
- Audio Info: Takes over the Source Audio Clip Names column and the # of Source Audio Tracks Info to Clip Comment A and Clip Comment B in Premiere.
- Cue Points as Markers: Maps the cue points in Silverstack to the markers in Adobe Premiere Pro.
- Format:
- Sets the Reel Name to
- Reel Name: Sets the Reel Name of the XML as specified in the Silverstack “Reel Name” metadata field
- Source File Name: Sets the Reel Name of the XML to the source file name of the clip in Silverstack (e.g. A003C012_160205_R2VJ.mov)
- Source File Name Without Extension: Sets the Reel Name of the XML to the source file name without extension (e.g. A003C012_160205_R2VJ)
- Video Clip Name: Sets the Reel Name of the XML as specified in the Silverstack “Name” metadata field (e.g. A003C012_160205_R2VJ)
- Sets the Reel Name to
In Premiere Pro the Reel Name of the XML will be taken over to the Tape Name column.
After defining the settings click “Save XML…” to export the Adobe Premiere Pro XML.
Creating Synced Sequences in Premiere with Audio Sync Information from Silverstack XT or Silverstack Lab
Overview and Use Cases
Silverstack can provide information about external audio clips that have been synced to Adobe Premiere to create synced sequences with correctly aligned video and audio tracks.
This feature helps e.g. to implement workflows where audio clips are not available before transcoding and are synced to the transcoded clips at the end of the day. Right after automatic audio sync the xml with audio sync information can be exported and provides synced sequences without transcoding again.
Another use case could be bringing camera native ProRes files into edit with synced audio from Silverstack.
How To
After syncing external audio clips with the video clips open the Premiere Export:
Fig. 3: The Audio option in the Adobe Premiere XML Export
Make sure to mark the checkbox “Include audio synced sequences and referenced audio clips”. This will equip the XML with the necessary information.
After opening the XML in Premiere Pro you will obtain the following folders:
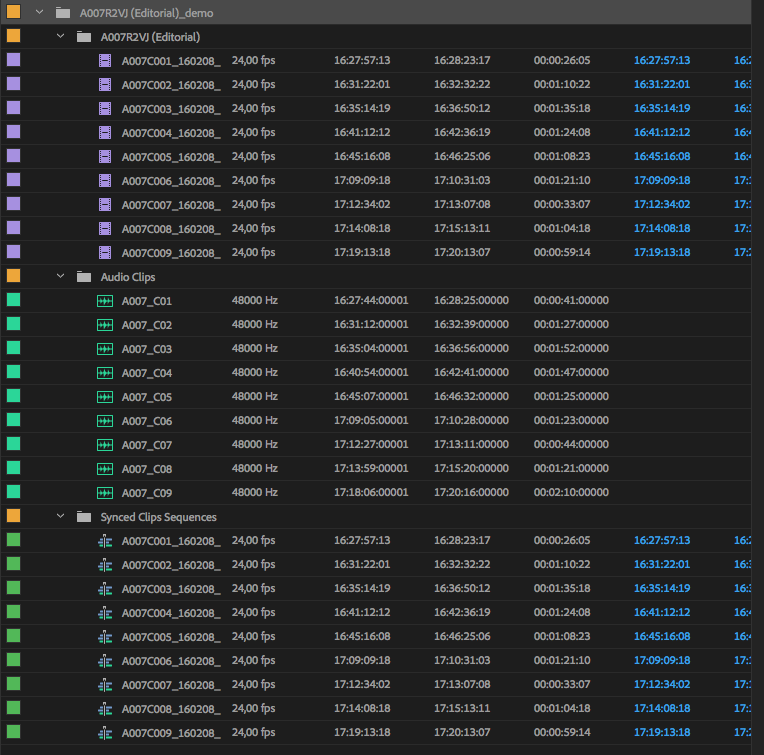
- One folder that contains all the video clips (e.g. A007R2VJ (Editorial), see fig. 4)
- One folder that contains all the audio clips synced with the video clips (“Audio Clips” in fig. 4)
- One folder that contains the “Synced Clips Sequences”
The “Synced Clips Sequences” are Adobe Premiere Pro editing sequences that have the audio in sync position to the clips:
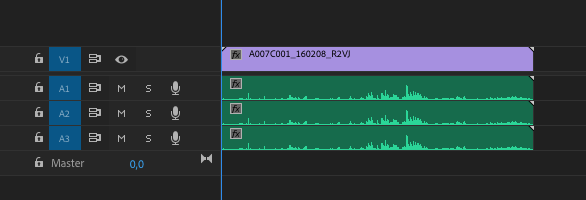
They can now be used for editing.
To learn more about audio sync with external audio clips in Silverstack Lab and Silverstack XT please take a look at the articles How To Automatically Sync Audio Based on Timecode in Silverstack Lab and How to Manually Sync Audio in Silverstack XT and Silverstack Lab.
Mention the “special setting” for editing ?
How to Open an XML in Premiere Pro
After saving the XML from Silverstack you can go ahead and open the XML file in Premiere Pro.
Open Premiere Pro. Go to the “File” menu and choose “Open Project…“. Choose the previously exported XML file and click “Open”.
The XML will import as a bin with all exported clips in Premiere:

Fig. 4: The imported XML folder in Premiere Pro