To learn about the basic process of transferring metadata to AVID please refer to the article Transferring Metadata to Avid Media Composer. The article will help you through the process of matching metadata from an ALE file generated from Silverstack to master clips in Avid.
Adding Color Metadata to the ALE Export
When exporting your ALE file from Silverstack make sure you have the checkbox “CDL Values in ASC-SOP & ASC-SAT column” checked:
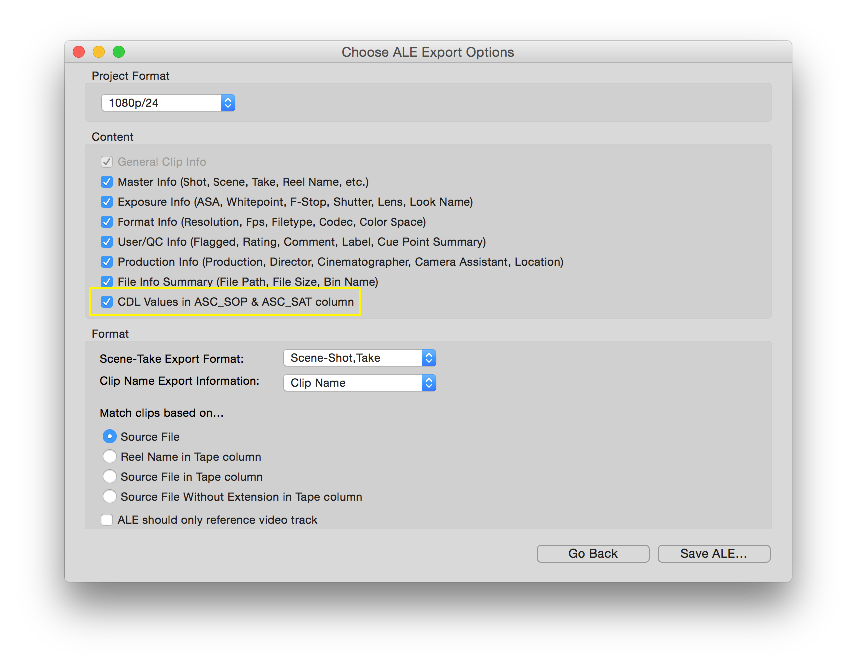
Figure 1: Include the CDL Values in the according columns of the ale file.
After the values are included in the ALE file perform the same steps as pointed out in the article Transferring Metadata to Avid Media Composer. The result will be clips that have the CDL values from Silverstack in the ASC_SAT and ASC_SOP metadata columns in AVID Media Composer.
Transforming the Color Metadata Information into Looks in AVID
We will now use the color metadata information from the ASC_SAT and ASC_SOP column to apply them to the clips.
Select all clips in the bin you merged the metadata with. Perform a right click on the film reel icon on the left of an arbitrary clip:
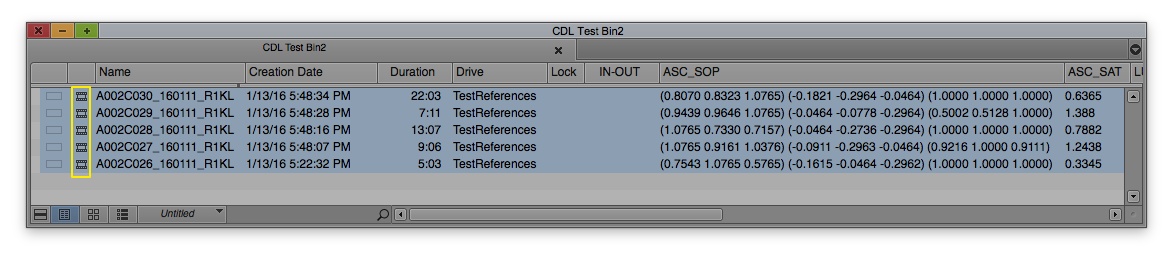
Figure 2: The bin with selected clips and the reel icons marked.
From the context menu choose “Source Settings”. You will see the following window:

Figure 3: The Source Settings with the Color Encosing tab selected.
Make sure to have the tab “Color Encoding” selected at the top left of the window. Click the dropdown indicator in the menu where it says “Levels scaling (full range to video levels)” below the “Color transformations” list.
You will see a list of transformations to choose from:

Figure 4: Choose the CDL ASC_SOP and ASC_SAT values from the bottom of the dropdown list.
Scroll down to the bottom of the list and select the “CDL ASC_SOP ASC_SAT” entry. Click “Add” right below and it will appear in the “Color transformations” list:
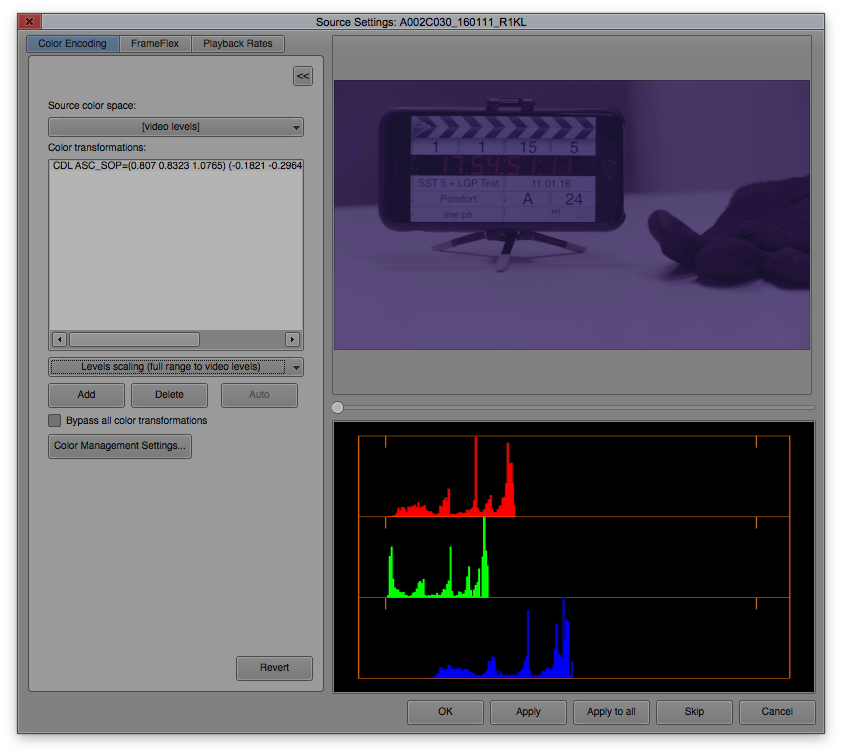
Figure 5 : The Source Settings with CDL values in the Color transformation list.
Now click “Apply to All” on the bottom of the window to apply the according CDL values to every clip. Click “OK” to leave the wizard. Every clip will now receive the look that is generated from its associated values in the ASC_SAT and ASC_SOP columns.
Adding a 3D LUT to the Color Processing
To add a 3D LUT again select all the clips you want to apply a LUT to. Perform a right click on the film reel icon on the left of an arbitrary clip and from the context menu choose “Source Settings”.
Instead of choosing “CDL ASC_SOP ASC_SAT” from the dropdown select the desired LUT and click “Add” to put it into the “Color transformations” list above:
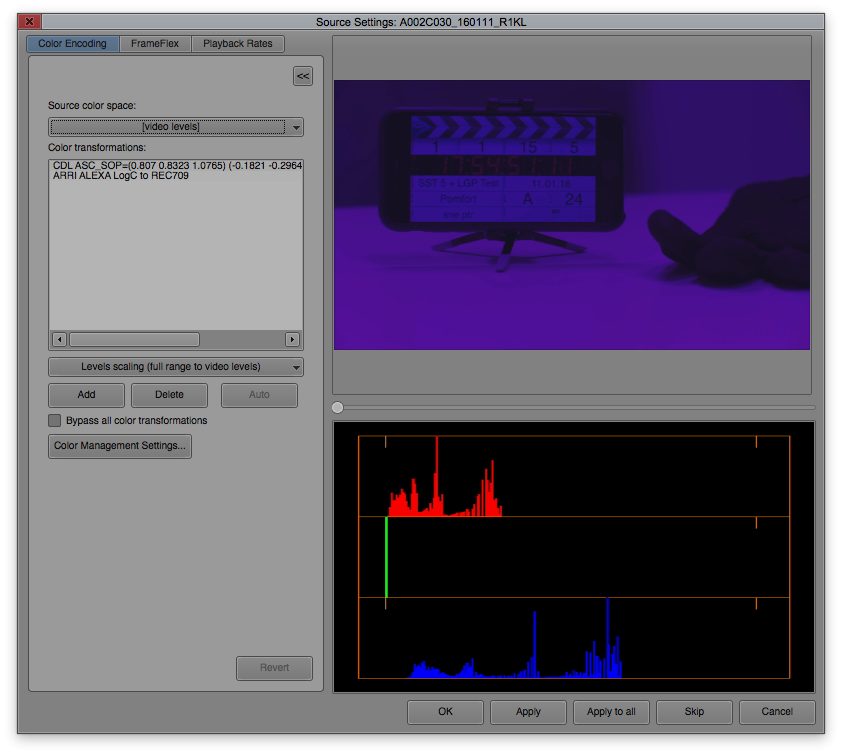
Figure 6: The source settings with CDL and LUT in the right order in the Color transformations list
Make sure that the CDL entry is on top of the LUT entry in the list. They will be applied in order from top to bottom as in the nodes in Silverstack.
Now click “Apply to All” to add the LUT to all the selected clips. Then click “OK” to leave the wizard. The clips will now all have and additional LUT added to the CDL processing.