You can export an .ale from Silverstack to transfer ASC-CDL color metadata to Assimilate Scratch. Assimilate Scratch matches the according CDL values to the loaded clips and translates them into looks.
Exporting an ALE from Silverstack Including ASC-CDL Color Information
To export an .ale file from Silverstack go to the header bar and choose “Export” :
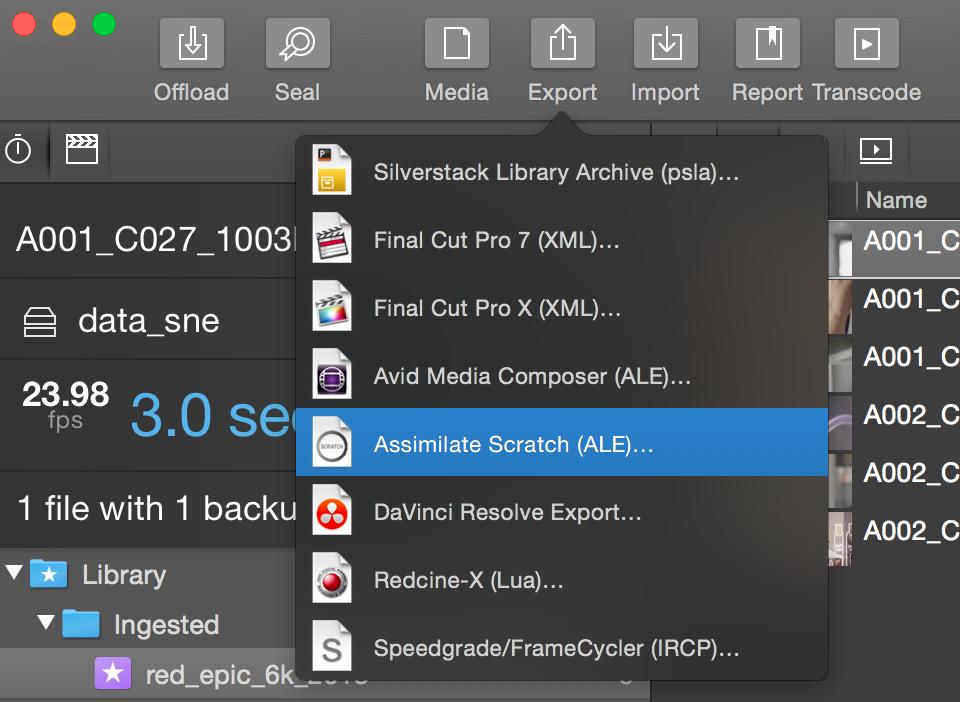
Fig.1: Choose Assimilate Scratch from the Export options.
Choose “Assimilate Scratch (ALE)” and a wizard window will open:
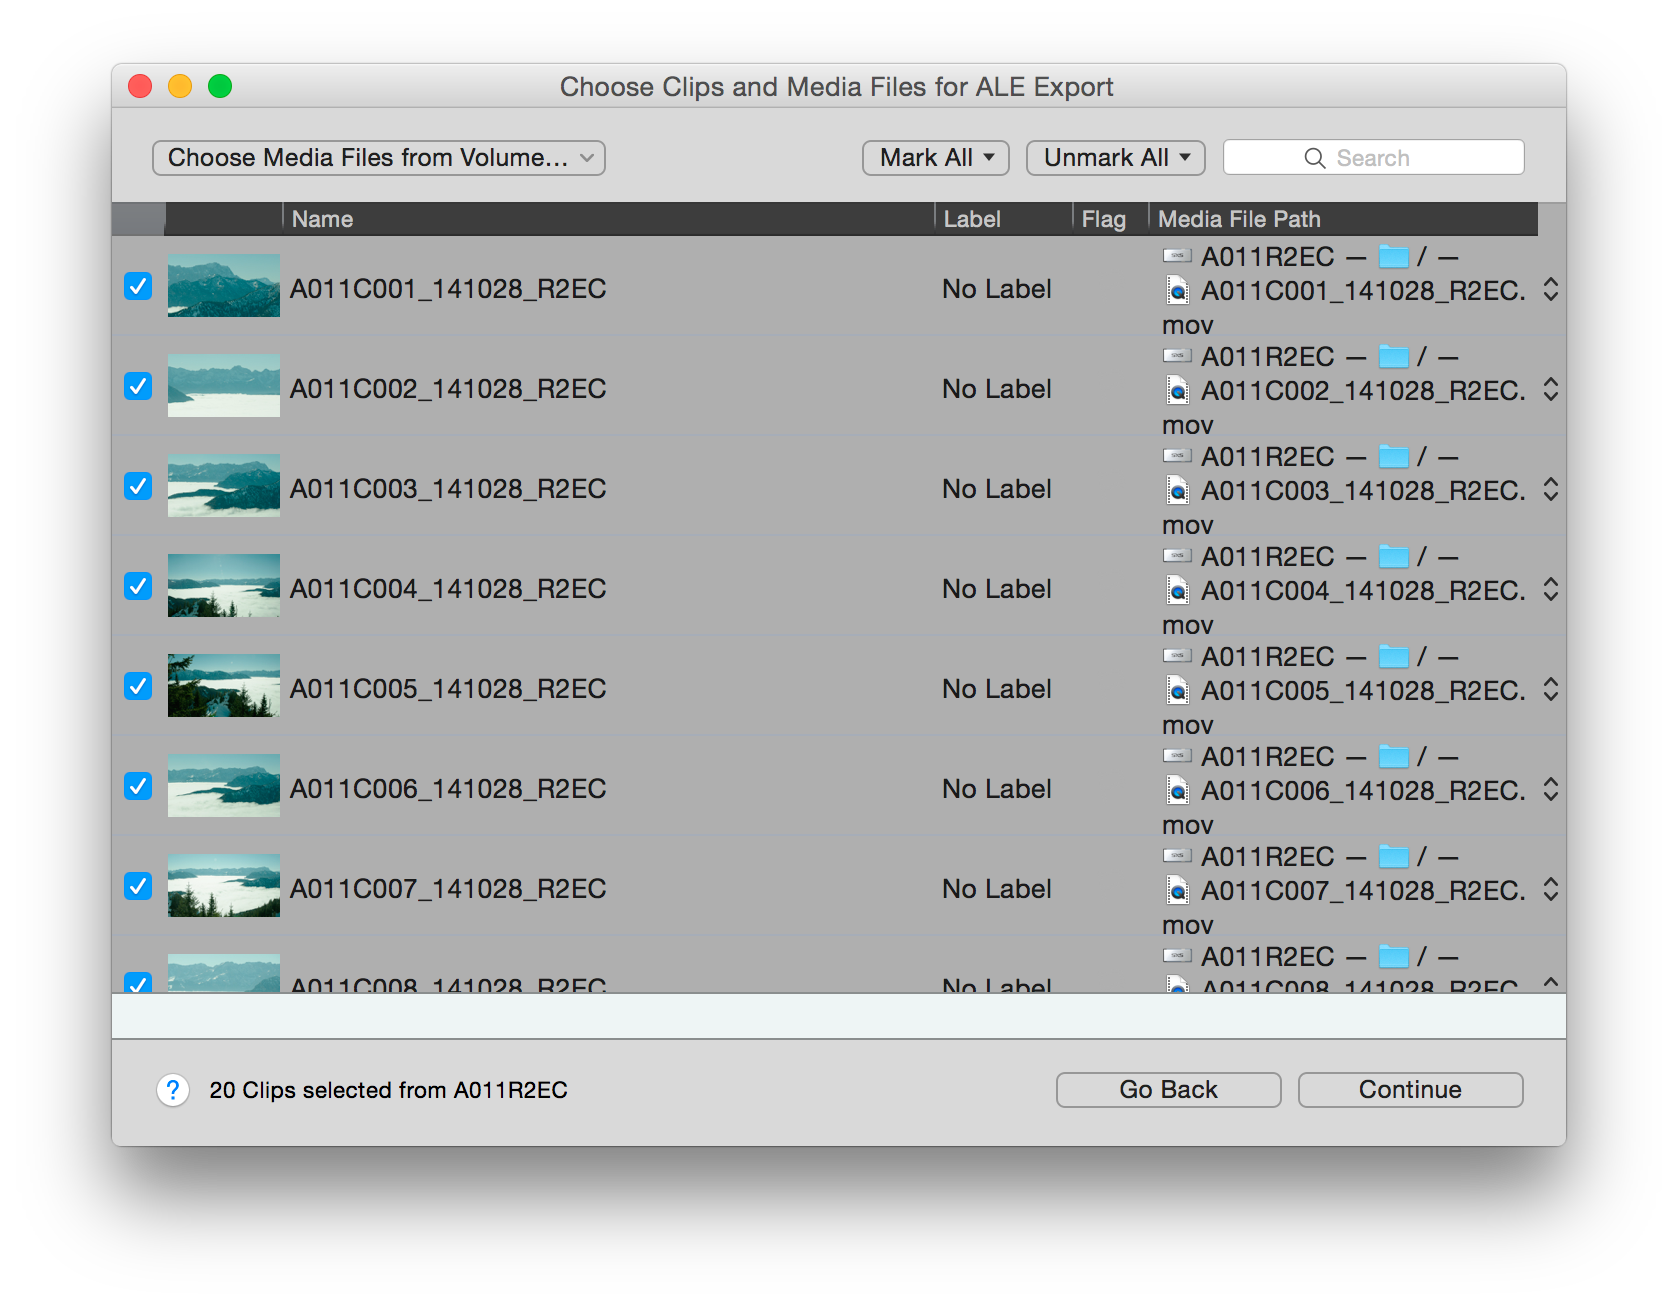
Fig. 2: Choose the clip you want to export in the ale.
Select the clips you want to export and click “Continue”.
In the next window choose your configuration:
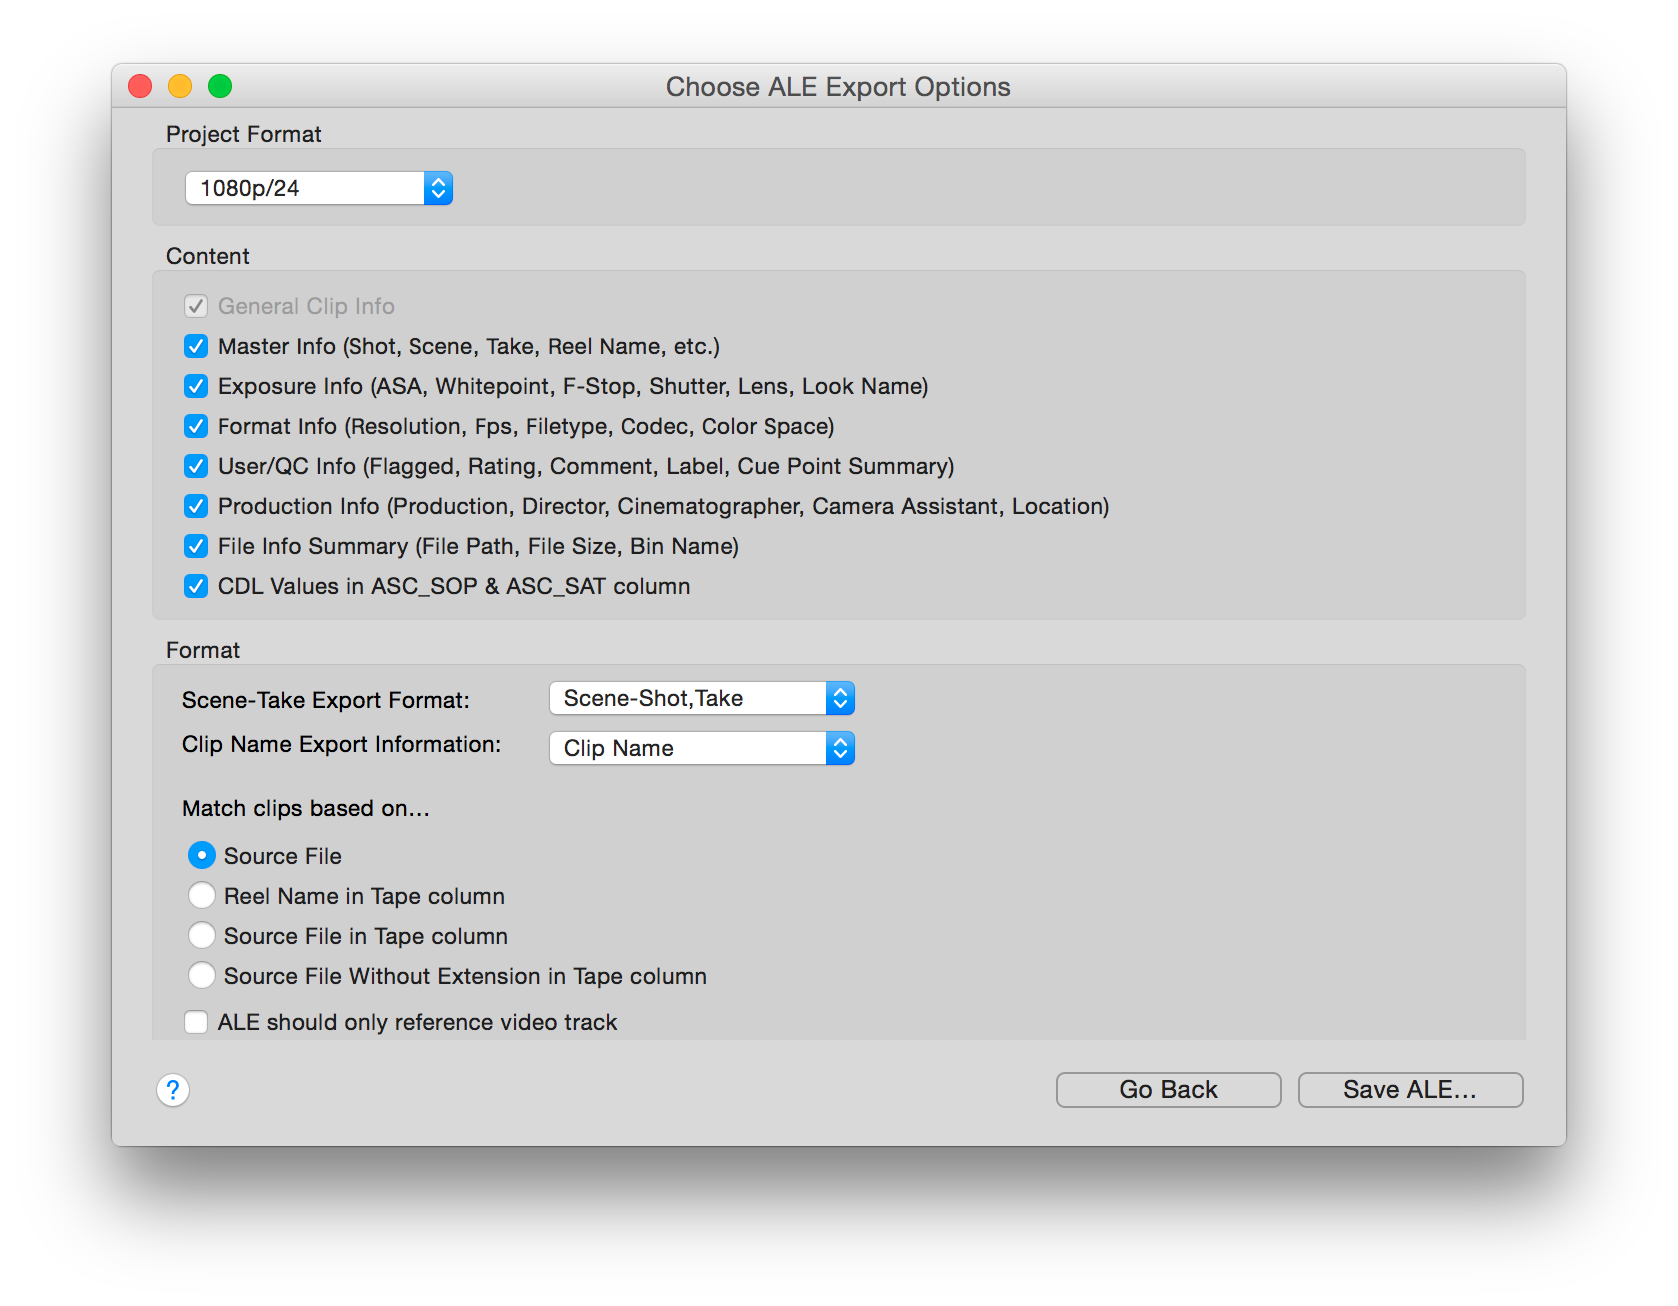
Fig. 3: Choose the ALE export options
Make sure the “CDL Values in ASC-SOP & ASC-SAT column” checkbox is checked to transfer color data to Assimilate Scratch.
Click “Save ALE…” to save the .ale file to the intended destination.
Importing an ALE in Assimilate Scratch and Matching Color Metadata
To import .ale files that contain color information in Scratch you have to follow 4 consecutive steps:
- Import the clips into Scratch that you want to apply color information to.
- Import the .ale file.
- Check settings for matching and import.
- Go to the clip view and find the ASC-CDL values affect the clips accordingly.
Let’s break the steps down into detail:
Importing the Clips
Click the “Load Clips” button from the lower left side of the interface:

Fig.4: Click the Load Clips button to add clips to Scratch.
Choose the clips you exported the ALE for to add them to the Scratch project:

Fig. 5: Clips have been added to the project
Importing the ALE File
Go to the “Conform” section which you will find slightly below the “Load Clips” button you just used. Click the “Import” button to open the ALE:

Fig. 6 : Choose “Import” from the conform options
Navigate to the exported ALE and click “Open”.
Check Settings for Matching and Import
You will see the matching user interface where now the ALE data will be matched to the clips:

Fig. 7: The ale matching user interface.
At the top of the the columns from the .ale you can select the action that should be performed for each column. Make sure you have the “ASC-SOP” and “ASC-SAT” columns set to “Import”. Matching on TC or File Name will be easiest so make sure to that at least one of those columns, or any other you want to match based on, is set to “Match on…”. You can make that selection from the drop down on top of every column.
Click “Start Matching” to match the metadata (including the ASC-CDL data) to the clips according to your settings.
While then selecting the different rows in the ALE you will see the clips the data will be matched to in the right bar of the wizard.

Fig. 8: The metadata has been connected to the clips.
Click “Execute” when you are happy with the match and want the metadata to be taken over to the clips.
Go to the Clip View and Find the ASC-CDL Values Affect the Clips Accordingly
Double click a clip to reach the clip detail view:

Fig. 9: The detailed view of the clip in Scratch
Select “Matrix” from the display options on the right side and “Numeric” from the panel on the left side. You will then see how the color settings have been affected by the imported ASC-CDL data.
If working in Assimilate Scratch on a PC monitor you have to set the right gamma to match the look of the clips to the perception inside Silverstack. Go to the Assimilate Scratch global settings to change the gamma if needed. Please be aware of the ColorSync settings in Silverstack as well (read about the setting in the article Using Silverstack’s Full Screen Mode).
Maintaining Grades and Clip Metadata Throughout Production
The use of Pomfort’s LiveGrade and Silverstack in combination with Assimilate Scratch allows for an integrated workflow that involves the preservation of clip and grade metadata throughout the process.
Looks generated with LiveGrade can easily be matched to the clips inside Silverstack. This workflow is also described in the article Look Matching.
Silverstack can then export an ALE that contains information about the LUT in the grade for each clip. By using the LUT files along with the ASC-CDL data and the automatic matching process inside Assimilate Scratch, unique grades can easily be transferred for each individual clip.
This tutorial made by Assimilate Scratch will give you detailed insights on the workflow:
You are currently viewing a placeholder content from Vimeo. To access the actual content, click the button below. Please note that doing so will share data with third-party providers.