Livegrade allows you to automatically trigger certain actions by events within the application. This can be used to configure the user interface, apply a video routing configuration, or perform other actions for certain situations.
Managing automations
You can create and manage automations in the Automation Manager window. Choose “Automation Manager…” from the application menu to open the Automation Manager window.
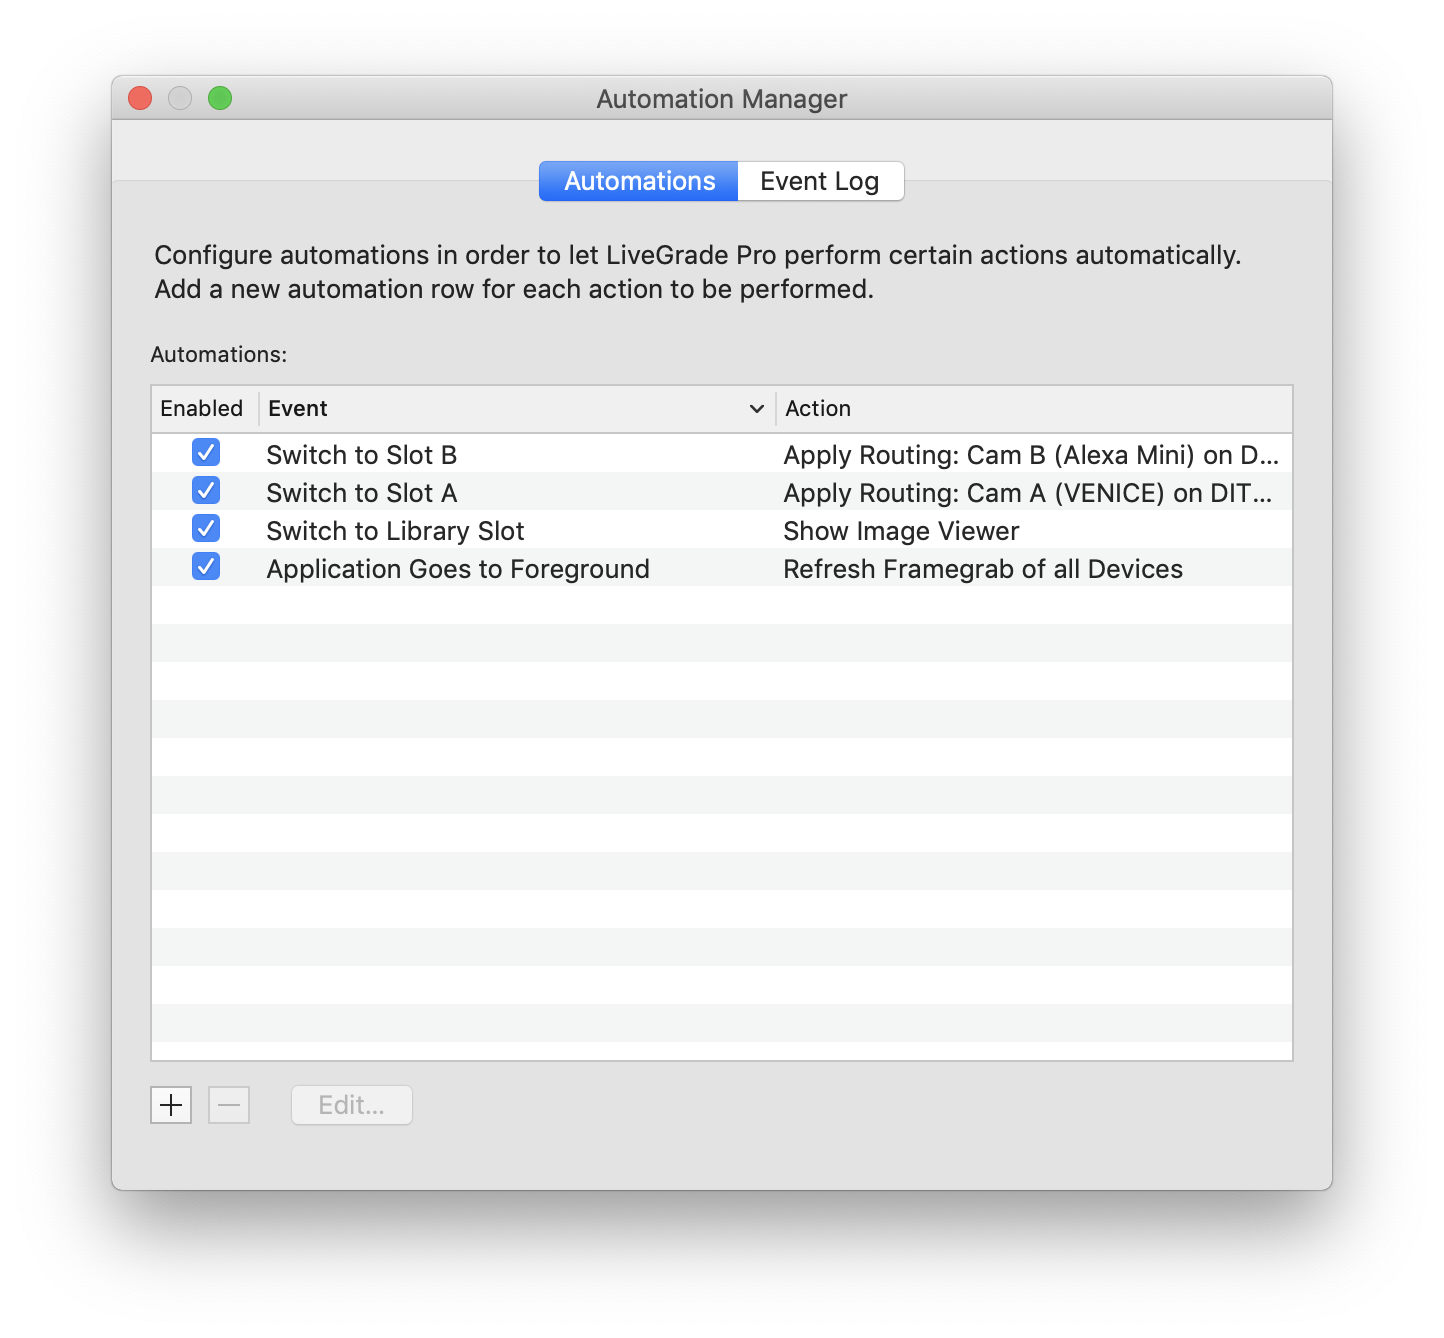
Automations panel
By clicking the “+” button below the automations table you can add a new automation. By clicking the “-“ button you can remove the selected automation. By clicking “Edit…” you can modify the selected automation.
Adding an automation
Setting up an automation
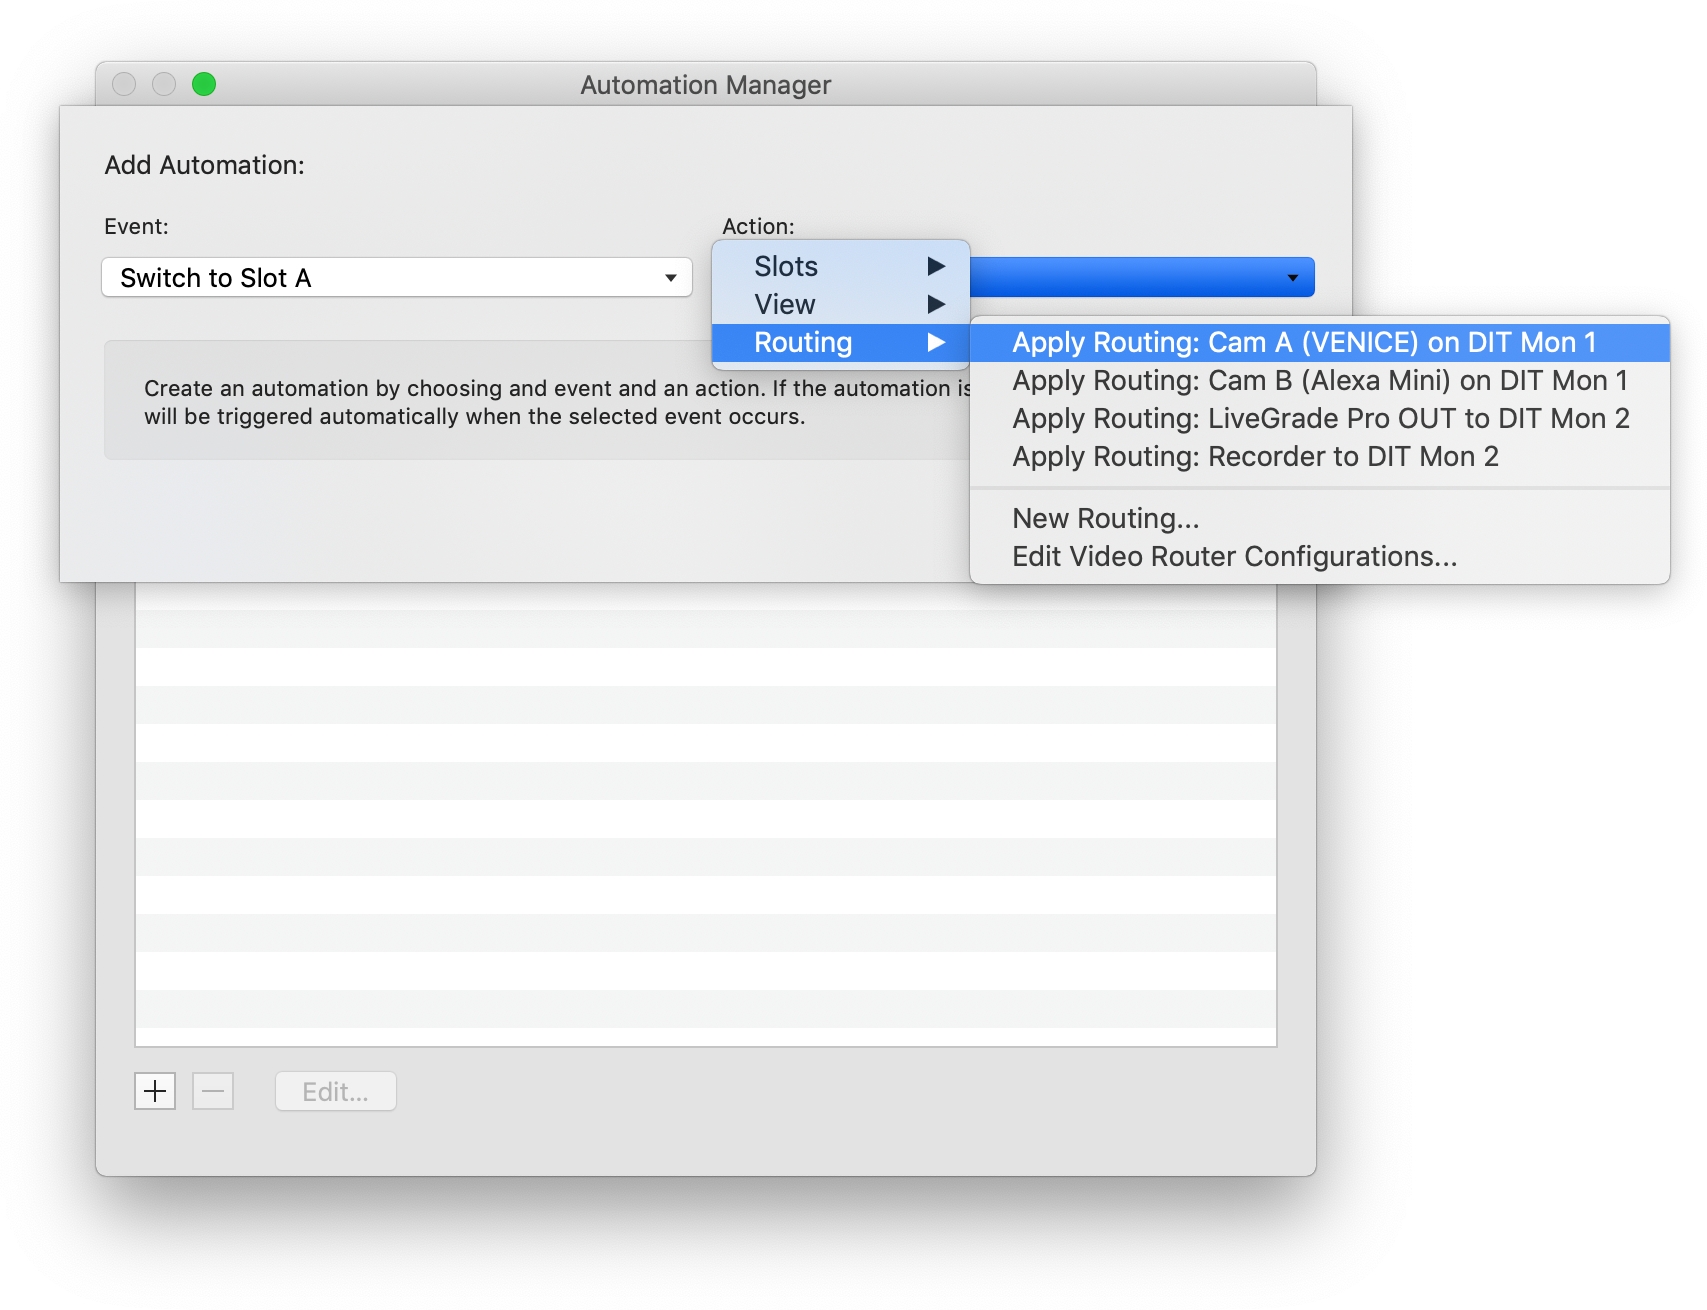
When clicking “+” below the automations table of the Automation Manager, a panel is opened that lets you choose
- the event, that shall trigger the event, and
- the action, that shall be performed when the event happens.
Available events:
- Switch to Slot: Choose one of the options to trigger an action when the user switches to a specific device slot, the library slot, or if any slot change occurs (“Any”).
- Recording: Chose one of the start or stop events for recording in individual or any slot.
- Application: Choose one of the options to trigger an action when the application started or is going to quit, or goes to foreground or background.
Available actions:
- Slots: Choose one of the actions with slots such as switching viewing modes, refreshing framegrabs, or locking external control panels.
- View: Choose one of the actions for configuring the user interface, such as showing or hiding scopes, configuring the slot appearance, or enable or disable dim mode.
- Video Routing Configurations: Choose one of the saved video routing configurations to apply the configuration, or create a new configuration.
- Video Capture Device: Chose a configure capture device to move it to the current slot. This can be used to use one capture device for multiple slots together using video routing configurations.
-
Scripts: Choose one of the installed and executable scripts. See Scripts and Automation for more details on scripts.
Click “Add” to save the new automation. If the automation is enabled, the chosen action will be triggered automatically when the selected event occurs.
Enabling and disabling automations
You can enable and disable single automations by checking the checkbox besides the automation in the automation table.
You can completely disable automations by clicking the automations button in the bottom bar of Livegrade’s main window. Please note that the automations button is only shown, if at least one automation is configured.
Event and action logging and error
In the bottom bar of Livegrade’s main window the automation button indicates when an action has been triggered by switching to a blue icon if a n action has been triggered successfully.
You can click on the automation button to disable all automation temporarily.
If an action failed (e.g. because a video routing setting cannot be applied), the automation button indicates this with a yellow icon. The tooltip of the automation button shows additional information about the failed automation.
A complete log of all automation can be reviewed in the “Event Log” tab of the automation manager. Successful automations, but also error messages of failed actions are displayed there. The event log is cleared when the application quits, so you only see log entries of automations since the last start of the application.