The RGB curves editor allows you to precisely grade your footage, either by applying a single master curve or by creating curves for individual channels luma, red, green, blue and/or a custom color.
- There are two modes to choose from:
-
- “RGB-Based” adjusts the selected color channel including its luma and saturation values, while the “Master” curve is a ganged RGB curve influencing the red, green and blue channel at the same time
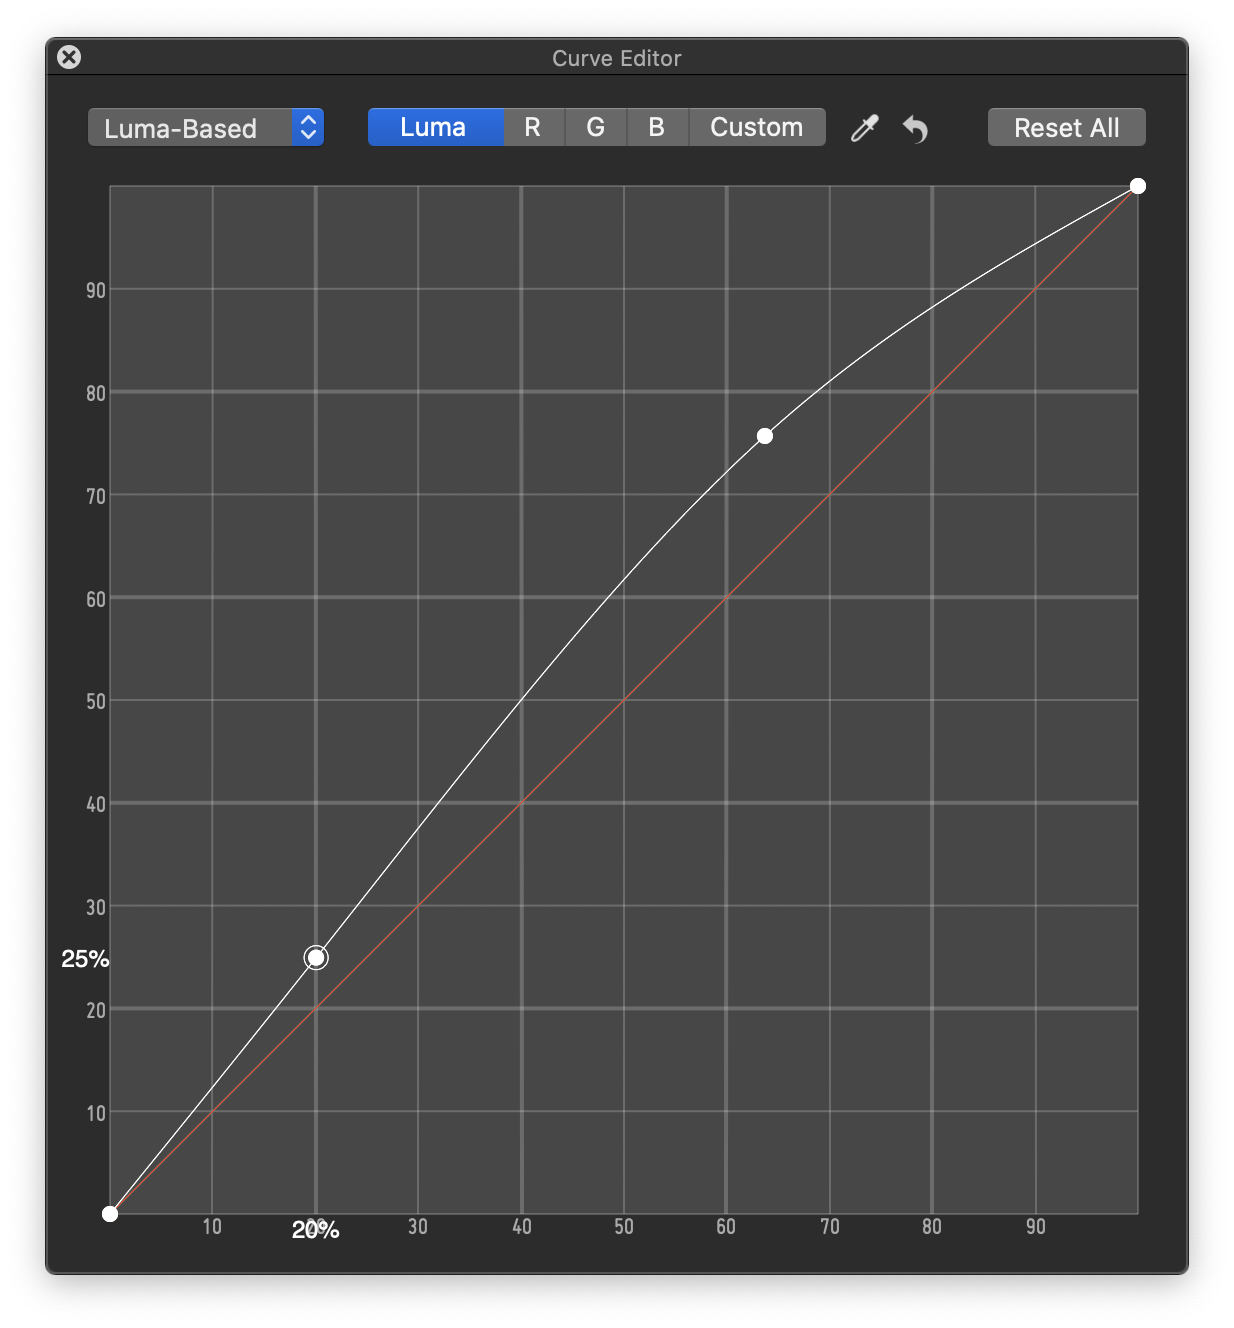
- “Luma-Based” adjusts the colors red, green, blue and/or the custom set color without influencing their luma and saturation values, while the “Luma” curve can be adjusted independently
-
- In the “Custom” color curve you can pick a custom target hue, for adjusting a certain color in your image precisely
- To add a curve point just click on a curve, and in order to modify it’s value just drag and drop. You can adjust curve points using the left/right and up/down arrow keys as well.
- To remove a point, select the point and press Backspace.
- When you move your mouse over the curve editor, the graph shows you the value of the exact point where it is. When the mouse pointer is not moving or it is outside of the curve editor window the values of the currently selected curve point are being displayed.
- There is a color picker tool, that lets you pick a specific target color value in the viewer window. Picking a color automatically creates a curve point in the graph of the current tab. The color picker tool can also be used to pick the target hue of the “Custom” color curve.
RGB Curve Editor
Note: There is another curve editor in the Alexa grading mode, that is limited to a “Master” curve.
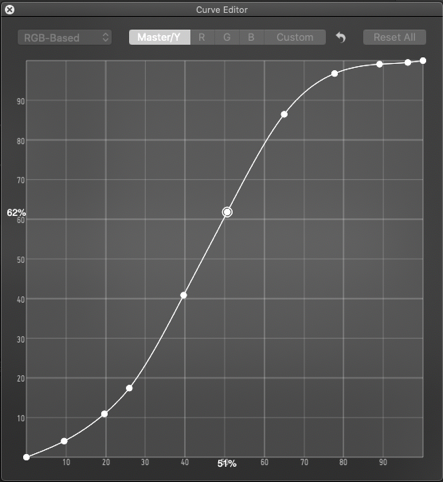
RGB Curve Editor Alexa grading mode