This article covers features which are only available in Livegrade Studio.
Livegrade Studio comes with support for remote LUT control Brompton Tessera processors (starting with firmware v3.2.0). This feature enables the user to control the LUT inside the Tessera processor that affects the processing of image on the LED wall. Livegrade Studio can connect and control to multiple Tessera processors as long as they are reachable via a network connection (LAN or WiFi depending on your setup).
Prerequisites
In order to exchange LUT information with Livegrade Studio, the Tessera processor needs to have a working network connection with the Mac where Livegrade Studio is running on. You can test that by using the “ping” command in the Terminal on macOS to check if the IP address of the Tessera server is responding.
In the Brompton Processor configuration make sure that
- “IP Control“, and
- “3D LUT“
are switched on.
Setting up the Connection
Once a connection is established, launch Livegrade Studio and you can proceed to add the Tessera server as a device.
- In order to do that, you can choose “Slots” in the main menu and then “Add Device” and choose “Brompton device”. Alternatively, you can add the device through the Device Manager.
- A window will appear that asks for an IP address of the processor to add it as a device. Enter the IP address of the camera as displayed in the camera settings. Click “Add Device”.
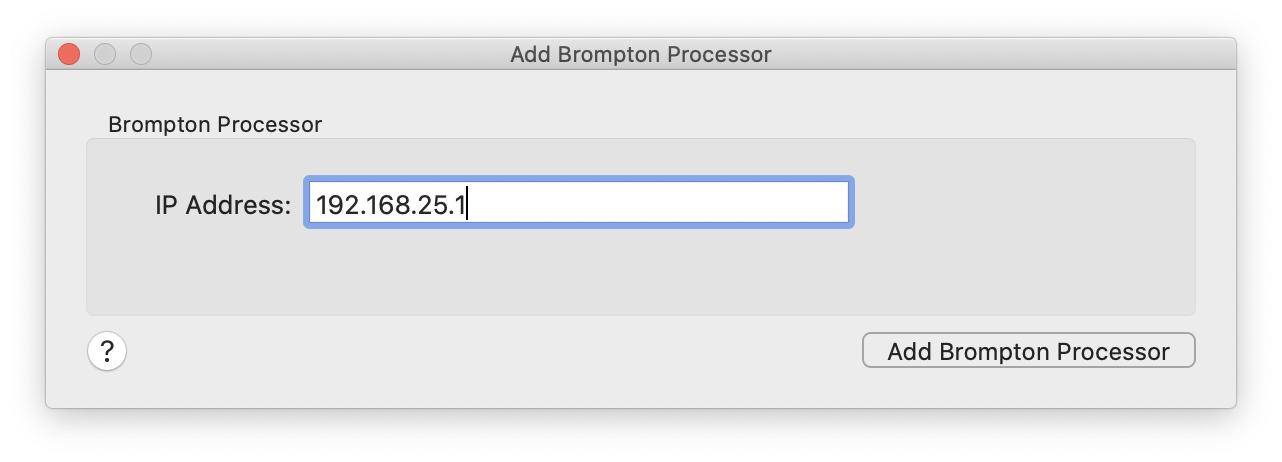
Enter the IP address of the device.
If you open the device manger in Livegrade Studio by clicking the button “Devices…” on the left side of the Livegrade Studio user interface. The device manager will show a connected Brompton processor:

Two Brompton devices connected to Livegrade Studio.
Livegrade Studio is now able to control the LUT of the device. Please refer to the article Color Controls and Grading Modes for more information on grading controls in Livegrade Studio.