If you are a user of Silverstack 6 you might want to migrate your projects to Silverstack 7 or Silverstack Lab 7. There is an easy process to perform this migration.
The instructions in this article can also be used for manually migrating Silverstack 7 to Silverstack 8 projects. Just replace the library path numbers with the according version numbers.
Locating the Library Folders
Silverstack 7, Silverstack Lab 7 and Silverstack 6, have different library folders that contain the projects. You will find them at the following paths on your Mac:
- ~/Library/Application Support/Pomfort/Silverstack7
- ~/Library/Application Support/Pomfort/SilverstackLab7
- ~/Library/Application Support/Pomfort/Silverstack6
You can also navigate to the folders from the Main Menu of Silverstack 6 or 7 or Lab 7. Select “Silverstack>Show Library in Finder” in the main menu bar at the top of the screen. This will open the project folder an bring you to the Silverstack.psdb file of your currently opened project. From there you can go two directories backwards to find yourself at the directory of the Silverstack library folders.
Migrating the Library
- Close Silverstack 7 / Silverstack Lab 7
- Rename the “Silverstack7” or “SilverstackLab7” folder in the directory /Users/[yourUser]/Library/Application Support/Pomfort/ to “Silverstack7_old”/“SilverstackLab7_old” (you will need that folder to keep new projects)
- Open Silverstack 7 / Silverstack Lab 7
- Just like when you started Silverstack 7 / Silverstack Lab 7 from scratch the first time you will be asked if you want to migrate your libraries from version 6 or want to start clean:
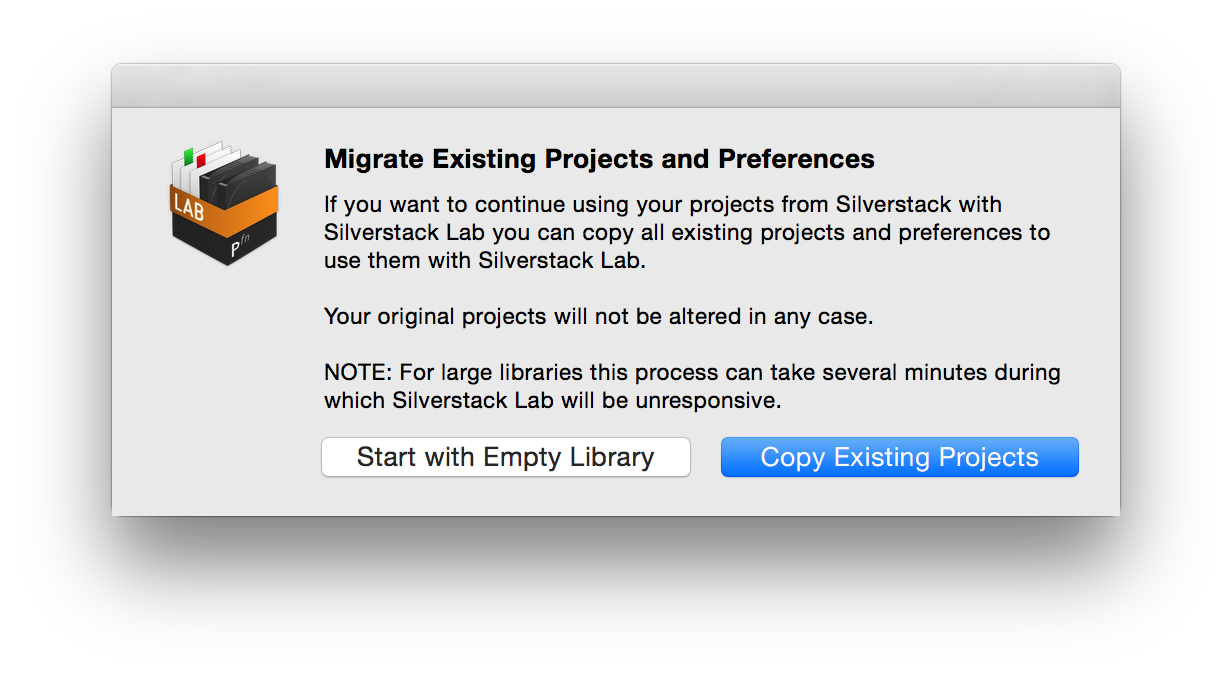
6. Choose “Copy Existing Projects” to migrate your Silverstack 6 libraries.
7. The library migration assistant will keep you updated on the process and tell you when the migration has finished:
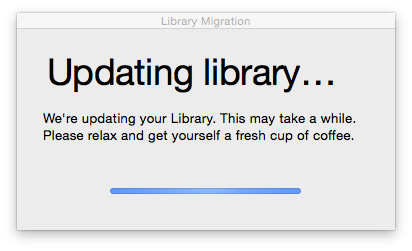
Figure 2: The library migration assistant
8. You can now use Silverstack 7 / Silverstack Lab 7 with your projects from Silverstack 6.
Please note that for large libraries the process can take several minutes. During that time Silverstack will become unresponsive. Leave the system running and the migration process will come to a solid finish.
Keeping Projects from Before the Migration
If you want to keep projects you created in Silverstack 6 before the migration process you can do that by copying the project folders:
- Close Silverstack.
- Go to the previously renamed “Silverstack7_old”/“SilverstackLab7_old” folder.
- Select the projects you want to take over to your migrated Silverstack 7 / Silverstack Lab 7 library (projects folder usually are named like “Project-1F342874AF90”)
- Copy them to the Silverstack7 / SilverstackLab7 folder that was automatically created during the migration.
- Start Silverstack 7 / Silverstack Lab 7
You will then have all your migrated and the previously created projects in Silverstack 6 together at one place.
If you want you can then delete the“Silverstack7_old”/“SilverstackLab7_old” folder because now your current Silverstack 7 / Silverstack Lab 7 library contains all your projects from Silverstack 6 and 7 respectively Silverstack Lab 7.