Quick Overview
Pomfort SealVerify is the one-button process that ensures the completeness and consistency of media data. Pomfort SealVerify is able to verify drives that have been sealed with a Pomfort seal. This Pomfort seal can be produced by Pomfort’s on-set media management application Silverstack. The sealing functionality in Silverstack complements the widely used and production-proven MHL standard for checksums. Instead of a standard checksum consistency check with MHL files the Pomfort seal additionally secures the completeness of your media data.
Learn more about a possible workflow with the exemplary use case described in the article A Typical Set-to-Post Scenario with Pomfort SealVerify and Silverstack.
Verifying a Sealed Drive
Pomfort SealVerify allows you to verify sealed drives as well as sealed folders. For simplicity reasons we may only refer “sealed drives” below but want to make clear that the same procedure will work for sealed folders.
Learn how to seal drives in Silverstack from the article Sealing Drives in Silverstack.
First Step: Choose a Sealed Drive
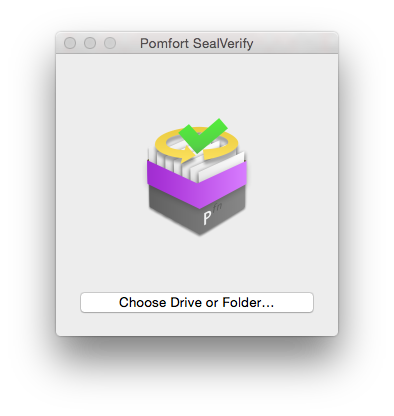
Fig. 1: The Pomfort SealVerify start screen
Click the button “Choose Drive or Folder” to choose the sealed drive to verify.
When a sealed drive is detected you will receive detailed information about the seal and the person who sealed the drive.
Second Step: Start the Verification Process
You can then start the verification process with the click of one button:
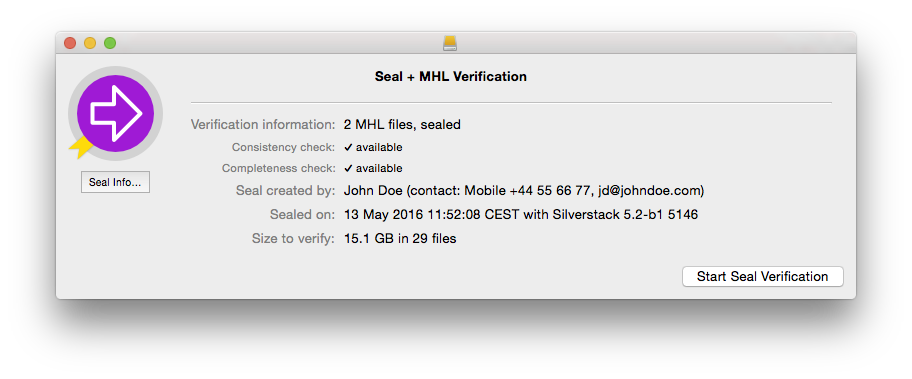
Fig. 2: A sealed drive was detected.
Below the seal you will be able to click the button “Seal Info”. This will open up the Seal Information with all the details provided in Silverstack during sealing:

Fig. 3 : Disk Seal Info in Pomfort SealVerify
During the verification process you will see a progress bar and detailed information that will indicate how long the verification process will take. Please note that the verification will read every file in order to create checksums and compare them with the checksums stored in the seal information. The duration of this process depends on the amount of data as well as the read speed and may take from seconds to hours.

Fig. 4: Verification in Progress
Third Step: Review the Result
After the verification a clear approval sign gives you confidence about the perfect condition of your data:
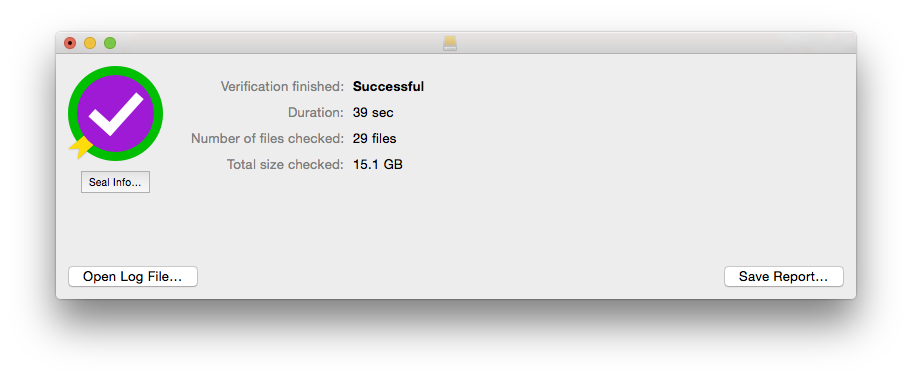
Fig. 5: A successful verification process.
After the completed verification you can open the detail view with a click on the arrow that points down in the middle of the UI. The detailed table view will present details about the files that have been verified:

Fig. 6: Verification completed succesfully
As displayed in fig. 6 you can see details about a file by selecting it from the table.
The details include:
- File path
- Verification result
- Hash value
- Media Hash List file the verified file is included
If you want to learn about possible error cases please visit the article Error Cases.
Fourth Step: Create a Report
After the verification is finished you will be able to export a report that will give you the overview of the verification task. Click “Save Report” at the bottom right side of the user interface to save the report in a .txt file format:

Fig. 7: A Pomfort SealVerify report example
The report contains all the information from the table view of the verified files (see fig. 6).
Verifying a Drive with MHL Files (without Pomfort Seal)
If there is no Pomfort Seal present on the drive, but the data is accompanied by MHL files, the verification of the drive is slightly different to verifying a sealed drive.
After choosing a sealed drive in step one, the application will scan for MHL files:

Fig. 8: Preparing verification and looking for Pomfort Seal or mhl files
You can choose to start the verification process immediately after scanning by enabling the checkbox “Start Verification Immediately After Scanning”. In some cases this processing step can be so quick that you will not notice it. It will then directly display the next step.
When there have been .mhl files found you will see the following user interface:
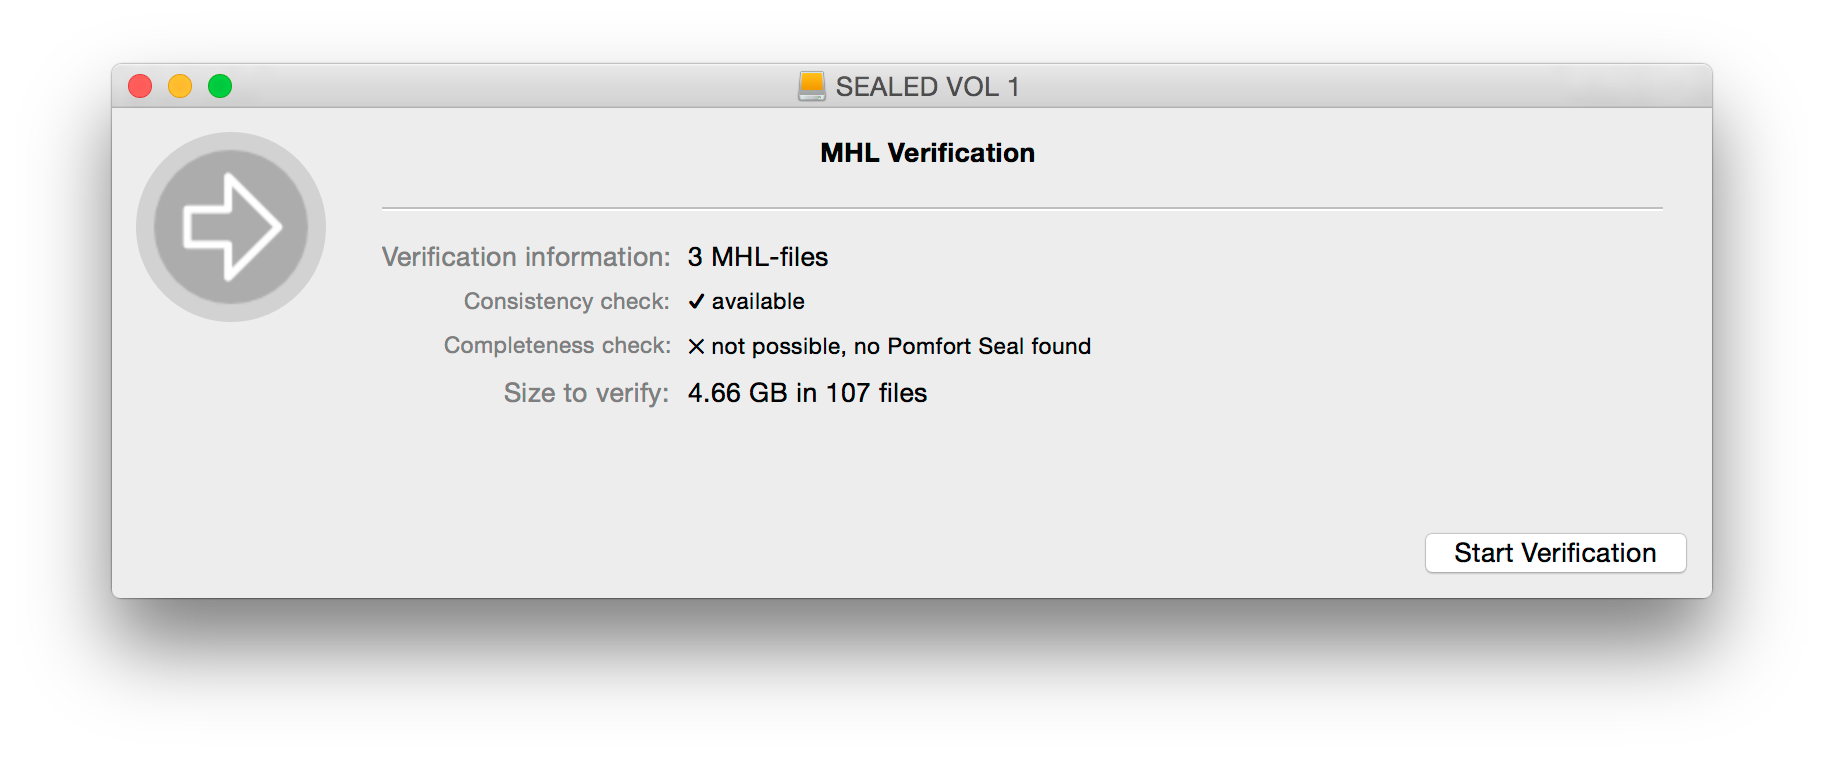
Fig. 9: MHL files found and ready for verification
You will then be able to start the verification. Please see the article Error Cases for further information about “uncheckable” files
Please note that you will only be able to verify consistency of the files referenced in the detected .mhl files when the drive is not sealed. You will not notice if a whole folder including its .mhl file is missing, or any data that was intended to be on the drive but is not referenced in any .mhl files was lost. Learn more about the Pomfort Seal from the article Understanding the Pomfort Seal.
Grey vs. Green Checkmarks for Passed Files
When you take a look at the tab for “Files Passed” after your verification finished you may find two types of checkmarks: Green ones and grey ones (see fig. 10).
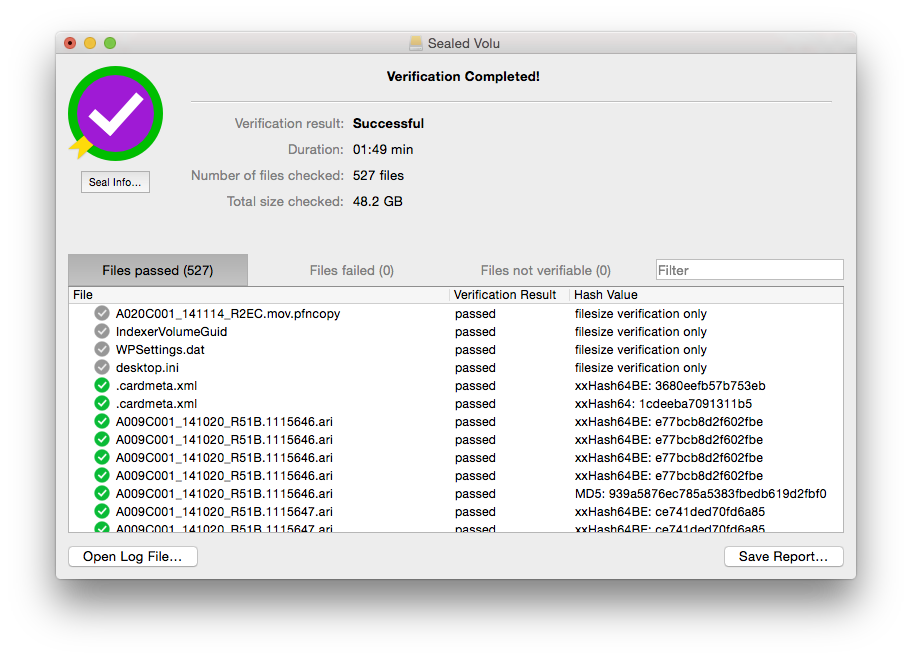
Fig. 10: Green and grey checkmarks in the table view for “Files passed”
The difference is simple: Files that are referenced inside an MHL file with a source hash value receive a green checkmark when successfully checked by Pomfort SealVerify. Files that are referenced inside an MHL file only with their file size and are then successfully verified by Pomfort SealVerify receive a grey checkmark. These are e.g. all files inside the “Lost & Found” folder Silverstack creates while sealing the drive and finding files not registered in the Silverstack library.
Copy all files with Silverstack with a secure process including checksum verification to avoid less secure grey checkmarks in Pomfort SealVerify.